Page 5 of 9
Re: Project Downward Spiral
Posted: Thu Jun 01, 2017 6:59 pm
by rt9
I think your rubber windshield frame seal is backwards. Bronco Hut told me the bead goes toward the rear. This will help with the gap at the top. Not sure, but that's what Dana told me.
Sent from my SM-G860P using Tapatalk
Re: Project Downward Spiral
Posted: Thu Jun 01, 2017 7:06 pm
by Gunnibronco
rt9 wrote:I think your rubber windshield frame seal is backwards. Bronco Hut told me the bead goes toward the rear. This will help with the gap at the top. Not sure, but that's what Dana told me.
Sent from my SM-G860P using Tapatalk
Is there even a seal there? I don't see one.
You have some funky gaps going on, take this slow and carefully. I'm having trouble putting my thoughts into words. The gaps around the door window frame look like trouble, like the top isn't sitting right. If you fix one gap, you'll make another worse.
Give me a ring, I'd like to discuss some things to look for before moving things around. I had some weird damage on my truck that when I found it made the door openings easier to manage. If you don't have my number, let me know & I'll message it to you.
Re: Project Downward Spiral
Posted: Thu Jun 01, 2017 7:18 pm
by Rox Crusher
I think your windshield is leaning too far back.
Re: Project Downward Spiral
Posted: Thu Jun 01, 2017 7:49 pm
by rt9
Is your windshield frame welded in place or bolted? Not sure when they changed to welding them in place.
Sent from my SM-G860P using Tapatalk
Re: Project Downward Spiral
Posted: Thu Jun 01, 2017 7:52 pm
by phyler
Gunnibronco wrote:rt9 wrote:I think your rubber windshield frame seal is backwards. Bronco Hut told me the bead goes toward the rear. This will help with the gap at the top. Not sure, but that's what Dana told me.
Sent from my SM-G860P using Tapatalk
Is there even a seal there? I don't see one.
You have some funky gaps going on, take this slow and carefully. I'm having trouble putting my thoughts into words. The gaps around the door window frame look like trouble, like the top isn't sitting right. If you fix one gap, you'll make another worse.
Give me a ring, I'd like to discuss some things to look for before moving things around. I had some weird damage on my truck that when I found it made the door openings easier to manage. If you don't have my number, let me know & I'll message it to you.
There is a seal there. The seal between the windshield and the top has been there for 15+ years. Here is a pic from before I started cutting anything out on either side:

Gunni, I still have your number. I'll give you a ring tomorrow evening. I agree, things are just a bit strange. The passenger side did have more damage due to me flopping it on that side in high school (20+ years ago) so that definitely could be a factor. I did have bracing in there and the top wasn't removed so I'm not sure the windshield moved but anything is possible.
Re: Project Downward Spiral
Posted: Thu Jun 01, 2017 7:53 pm
by phyler
rt9 wrote:Is your windshield frame welded in place or bolted? Not sure when they changed to welding them in place.
Sent from my SM-G860P using Tapatalk
Welded. This is a 75. I don't remember when they changed but I think it was around 68.
Re: Project Downward Spiral
Posted: Thu Jun 01, 2017 8:25 pm
by Gunnibronco
Cool, I'll be around.
Something seems to have changed. You had nice gaps around the door window before, but not now. It's not just how the door is hanging in the hole. The shape of the hole changed, if I'm seeing things right.
Re: Project Downward Spiral
Posted: Sat Jun 03, 2017 11:29 am
by phyler
Thanks for the chat last night Gunni!
I went out today and started looking at it a bit more. Tried raising the 3rd body mount (the one that will eat the nut and bushing if you aren't careful) by 1/8". That really didn't do much so I dropped it back.
Then I started measuring again. The photos are really not good as they create some illusions. Between the back of the window frame and the hardtop, everything is the same from top to bottom at 7/16". Along the top of the window frame, the gap is even all the way across until you get to the back but the reason it gets tighter is that the drip rail is smashed down a bit so it closes it up.
I also measured the door post to the striker post where the outer rocker goes. I'm short there by 1/8".
I believe my next steps are to take the door back off and then mark where the post is now. Then try to lower it slightly so that I can have some play in the hinges. Right now the door is as low as it will go with the hinges. When I do that, I will also kick the entire door post forward slightly. That should help with the gap at the windshield but we'll see if it is enough.
I also tried loosening the hard top bolts to try and move the windshield forward. Not budging right now but we will see what happens with the post.
I'll keep updating as I go along. It's hard to think of what could be wrong because the drivers side has great gaps right now but between talking to Gunni and sitting back and staring at it, I'm sure I'll get it.
Re: Project Downward Spiral
Posted: Sun Jun 04, 2017 8:48 pm
by phyler
Ok, I have a theory on what's happened. Every thing I'm doing is not correcting the trouble spot which is the windshield to window frame area.
I'm hoping someone who has a hard top on, can measure from the hard top to the drip rail/channel that runs down the side of the windshield frame. Basically, between the two arrows shown here:

My gut feeling is that even though I braced the cowl, I think it rotated slightly. Specifically, I think it might have rotated down in the front which would have pulled the bottom of the windshield frame forward. My measurement of this spot between the hardtop and windshield varies by almost a 1/2" between my sides. Hoping someone else can give me a data point to work from. I am getting 37" on the drivers side which has a good gap and 37.5" on the passenger side.
Thanks!
Re: Project Downward Spiral
Posted: Sun Jun 04, 2017 8:55 pm
by Gunnibronco
37" dead on both sides of my 72, which has pretty darn good gaps.
Re: Project Downward Spiral
Posted: Sun Jun 04, 2017 9:01 pm
by Gunnibronco
37"
Re: Project Downward Spiral
Posted: Sun Jun 04, 2017 9:05 pm
by phyler
Gunnibronco wrote:37" dead on both sides of my 72, which has pretty darn good gaps.
Thanks! That helps me for sure.
Sent from my Venue 8 7840 using Tapatalk
Re: Project Downward Spiral
Posted: Sun Jun 18, 2017 5:01 pm
by phyler
Well, Father's Day allowed me to get a pass to the garage. I had an hour or so the other night and used a ratchet strap to get the cowl pulled back so that the top to windshield frame measurement was 37" but it had sagged again so I got to re-do it today.
Got it all lined up super nice:

Then I chatted with Gunni a bit before I burned it in, just to make sure I wasn't missing something. I was doing my usual "over think it" thing. Got the kick panel and the door post burned in.

Was pretty pleased with the results and how the welds for the most part laid down really flat. I had turned the welder up to the settings for 16ga.

After that, I started working on getting the bottom of my striker post straight. I don't have a porta-power so I improvised:

I am thinking I will just cut the rear quarter out and replace it. I kept working it thinking I could save it and I probably could but the truck isn't an original survivor and the amount of time and energy I will burn trying to make it all right is way more than the cost of the re-pop quarter.
Here's hoping I can get an hour here and there over the next week to try and get the inner fender apron installed and then maybe I can get the front clip back together.
Re: Project Downward Spiral
Posted: Sun Jun 18, 2017 7:49 pm
by Strike2
Nice work on the panels, those spot welds look very nice! Well done
Re: Project Downward Spiral
Posted: Mon Jul 10, 2017 8:19 am
by phyler
More metal gone but I got the striker post straightened out this weekend:

Also built a new brace for the rear tail light housing:

Oh, and @Justin, here is the final result of the planter hooks that you helped us bend after the swap meet (totally not Bronco related but what I accomplished this weekend):

Re: Project Downward Spiral
Posted: Wed Jul 19, 2017 1:26 pm
by phyler
Ok, time for the next question. In typical Bronco fashion, my passenger side tail light housing started to pull away from the upper quarter due to having too much weight on the tire carrier. My question is how do I pull this back together and weld it from the inside? I looked but didn't see the spot welds from the inside granted, it's not exactly easy to look for it. I searched over at CB.com and couldn't find anything specific to how anyone fixed this.
Pic's for reference:


Also, pay no attention the lower quarter, it's just lightly clamped in at this point to get an idea of how it looked.
Re: Project Downward Spiral
Posted: Mon Jul 24, 2017 9:03 am
by mickphatmac
Just a guess but before you tear that rear corner off all together and try and straighten everything associated with it, maybe take a 4x4 and put it on a jack and prop it up under the Top horn of the tire carrier and go to town? But, if the metal came apart once, it will do it again...refer to the 1st part of my post :(
I haven't done this, just thinking out loud.
Re: Project Downward Spiral
Posted: Mon Jul 24, 2017 9:19 am
by Strike2
I just removed my rear tire carrier this week end, once I'm back home I will take a look inside and see if I can tell how its attached. thinking it spot welded?
Re: Project Downward Spiral
Posted: Mon Jul 24, 2017 1:18 pm
by phyler
Strike2 wrote:I just removed my rear tire carrier this week end, once I'm back home I will take a look inside and see if I can tell how its attached. thinking it spot welded?
It is (or rather was) spot welded. Looks like 2-3 very small spots. I was looking at it and I think I can drill some 1/4" holes from inside the truck through to weld it back up. I think I can just use a ratchet strap around the entire panel (i.e. from tail light housing to striker post) to pull it tight.
mickphatmac wrote:Just a guess but before you tear that rear corner off all together and try and straighten everything associated with it, maybe take a 4x4 and put it on a jack and prop it up under the Top horn of the tire carrier and go to town? But, if the metal came apart once, it will do it again...refer to the 1st part of my post :(
I haven't done this, just thinking out loud.
Not going to disassemble the housing from the body. Everything is actually in good shape on this side and I can pretty much close the gap just pushing on the housing. I'm leaning towards building a stealth bumper and building the tire rack into it (like I saw on CB.com). That will fix the issue of the spare tire causing the housing to pull away.
I'm traveling this week for work so I can't get back to it until Friday. Maybe I'll get some time next weekend to get it done.
Re: Project Downward Spiral
Posted: Mon Jul 24, 2017 2:03 pm
by Jesus_man
phyler wrote:Strike2 wrote: I'm leaning towards building a stealth bumper and building the tire rack into it (like I saw on CB.com). That will fix the issue of the spare tire causing the housing to pull away.
I too think this is your best bet.
Re: Project Downward Spiral
Posted: Sun Aug 20, 2017 11:55 am
by phyler
Re: Project Downward Spiral
Posted: Sun Sep 17, 2017 3:41 pm
by phyler
I figure that since the Bronco's game is on, I can post some updates. Been hard at work. Have to get the passenger side done so I can move the Bronco back to the other side of the garage before winter sets in so that the wife can have her parking spot back.
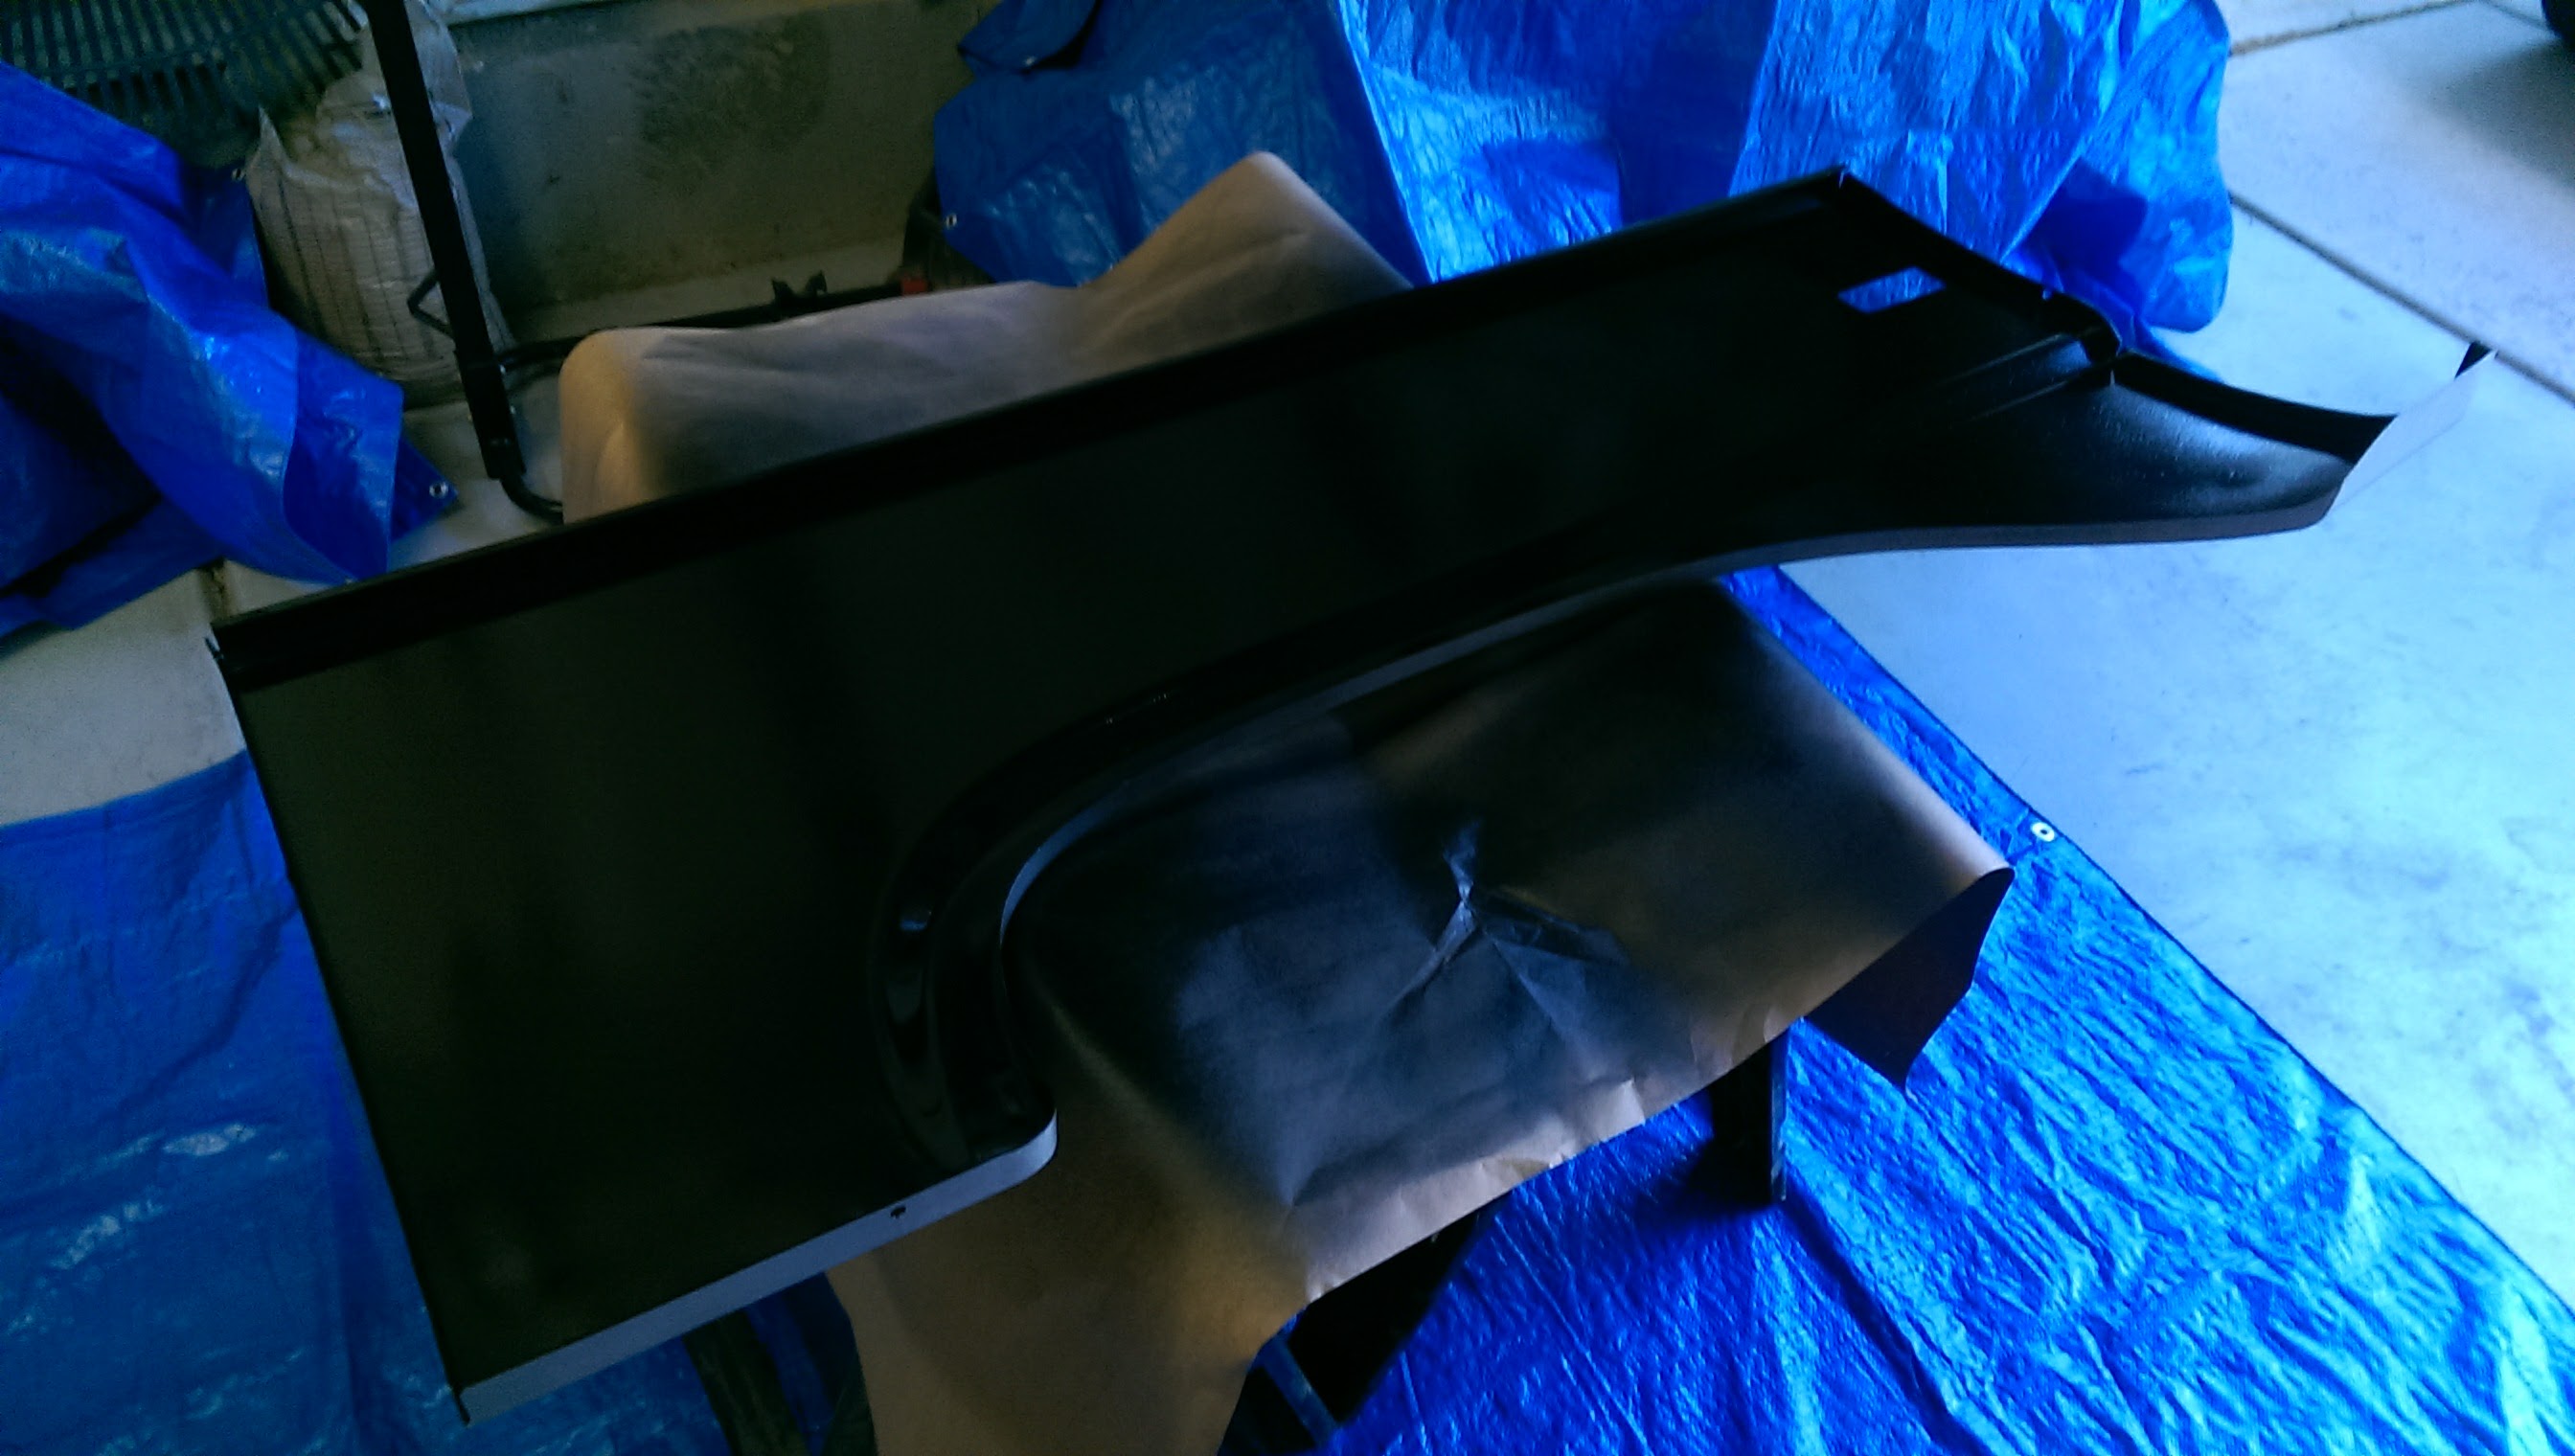
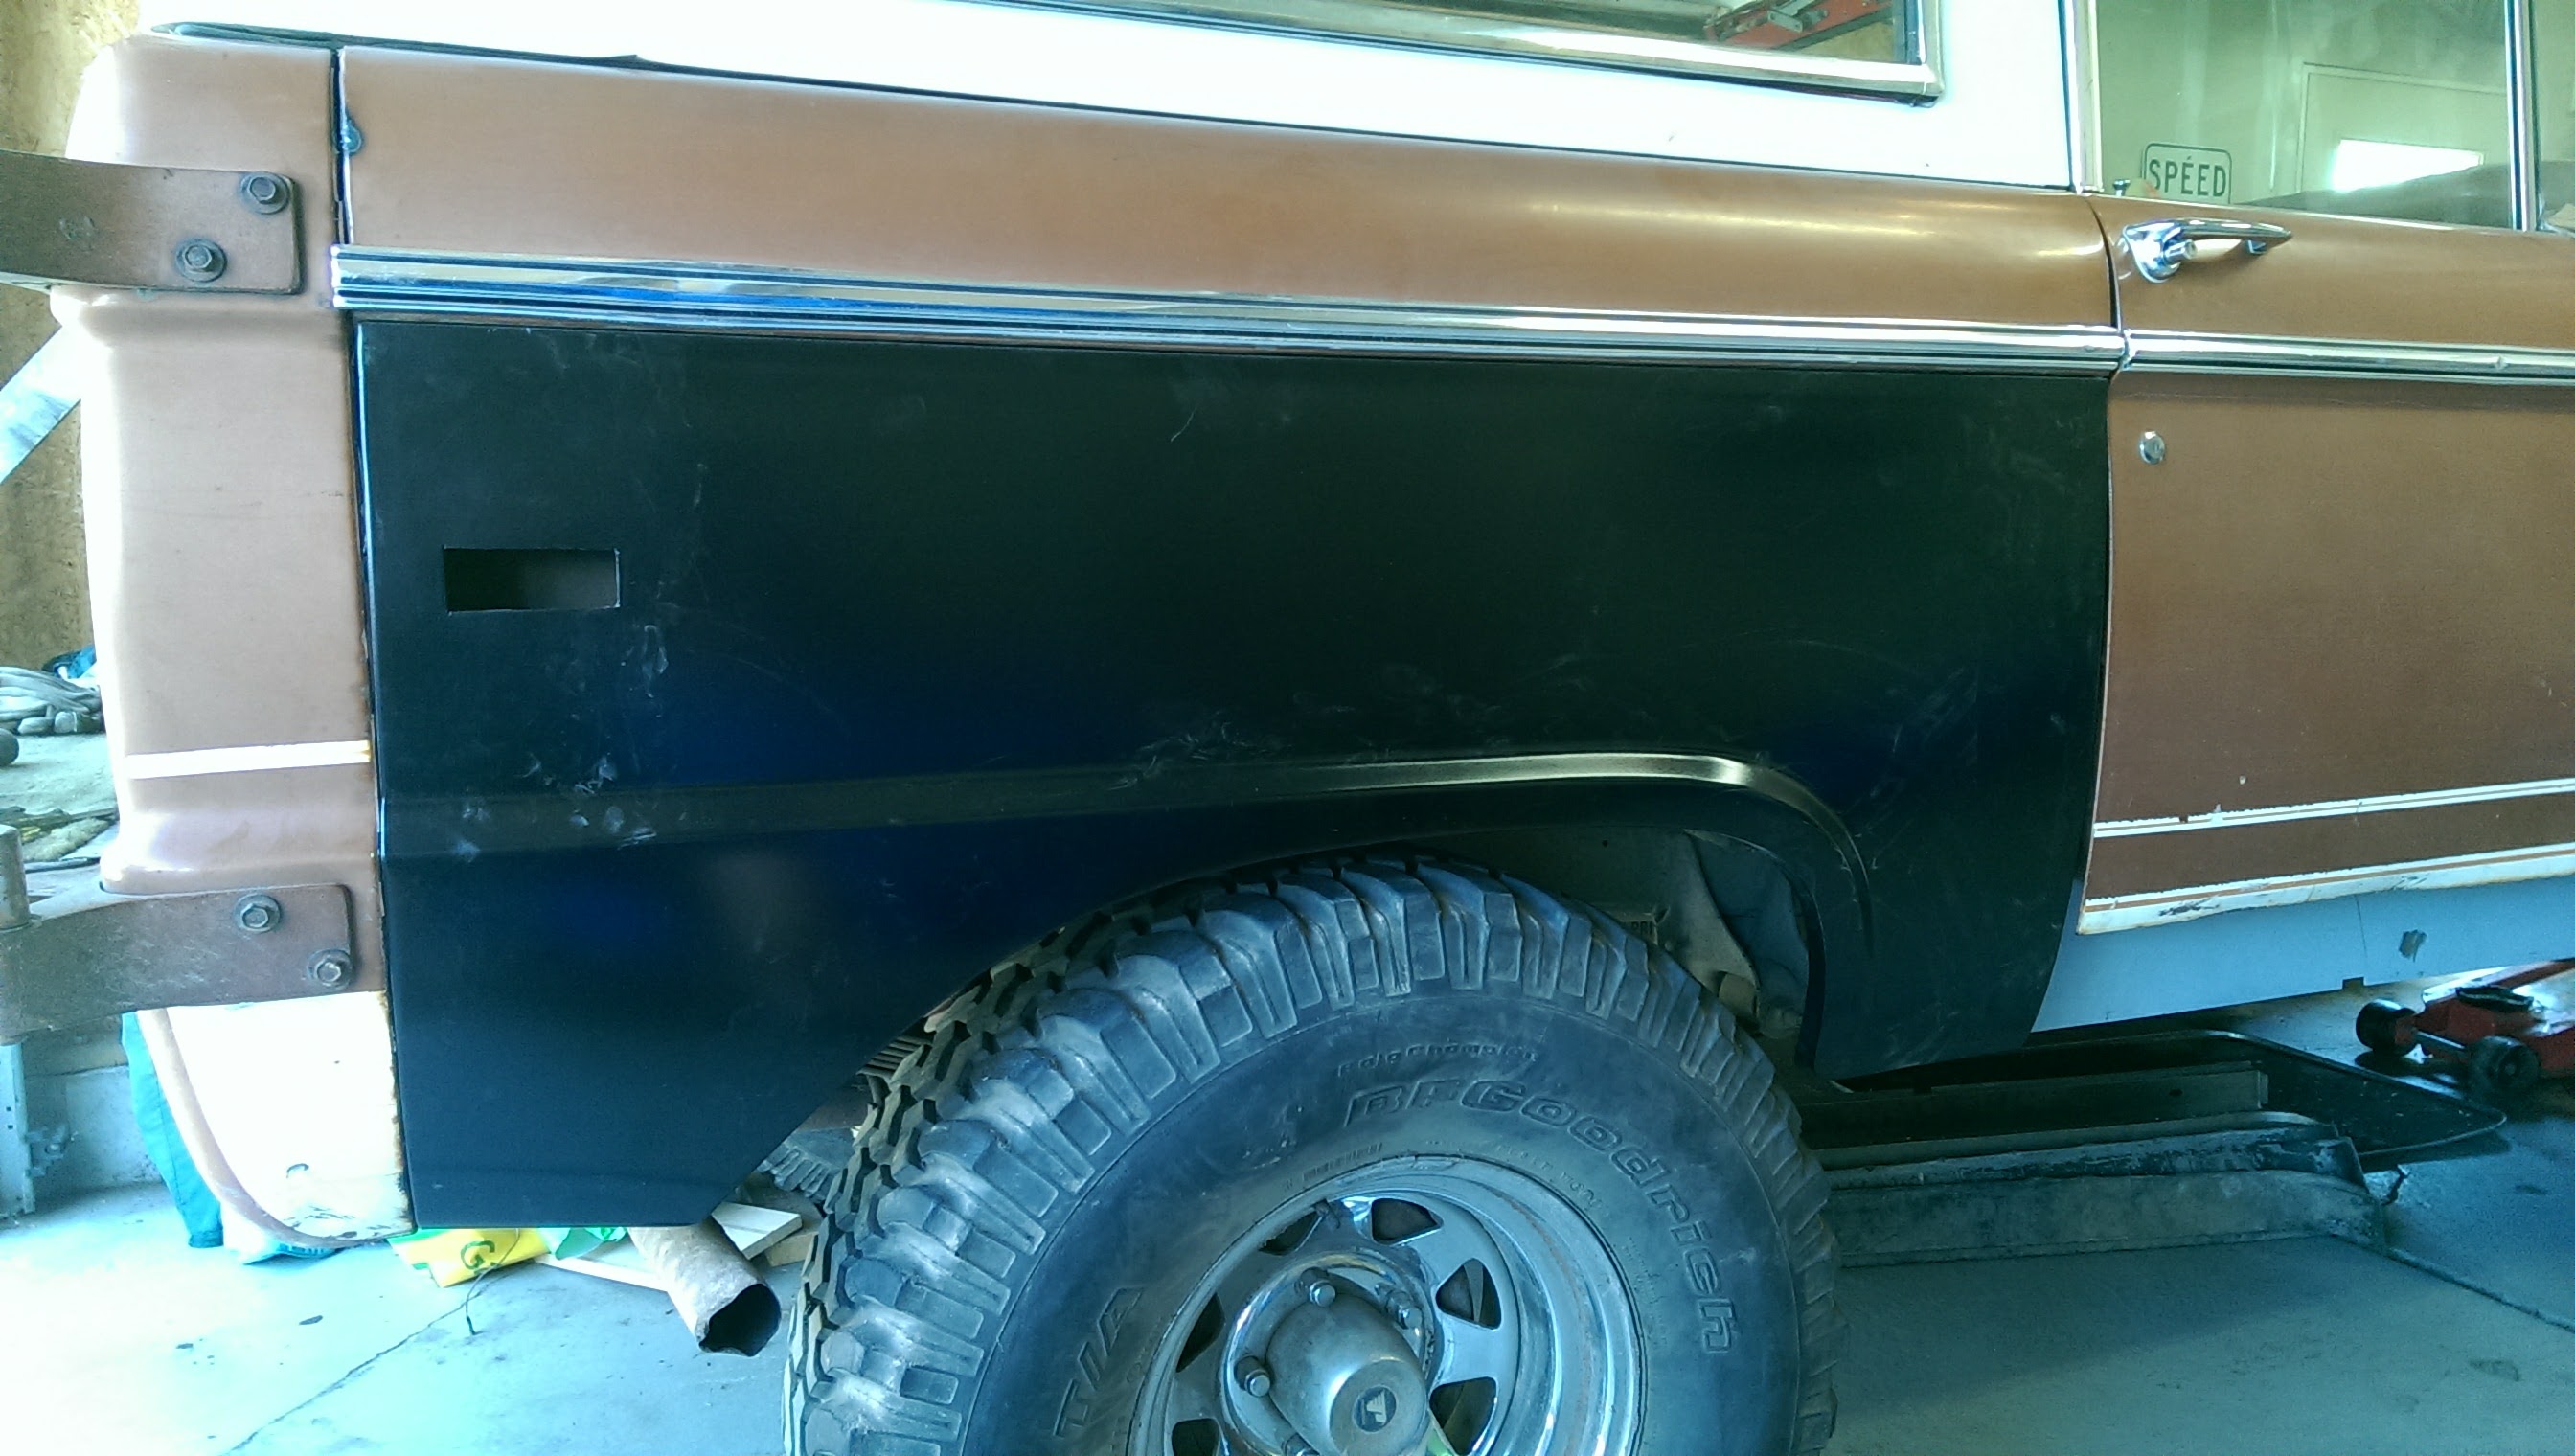
Got the rear quarter and the rocker committed. Pretty pleased on how they came out.


Then re-mounted the door and got it adjusted to the point where it shuts super nice. I'll get a video of it tomorrow once the seam sealer is dry. Hopefully that will keep up after a seal goes in. I bought the ones from Delconick last summer when he first put them up on CB for the special price. They seem super nice.
Also, drained the gas tank of all the old gas in it a week or so ago. Now I can fill it up with a gallon or two of good gas so I don't gum up the carb.
Lastly, today, after talking on text with Gunni, I went ahead and put in seam sealer. Tomorrow I'll top coat it with some epoxy so I don't have to worry about it. Used the 3m Dynatron stuff. It's a 1k product but went it nicely for my needs.


Here's hoping I can obtain my goal of having most of the body work done before November.
Re: Project Downward Spiral
Posted: Sun Sep 17, 2017 3:45 pm
by Gunnibronco
Looking good!
Re: Project Downward Spiral
Posted: Sun Sep 17, 2017 7:51 pm
by landshark
looking great! the rear quarter lined up nice
Re: Project Downward Spiral
Posted: Sun Sep 17, 2017 8:19 pm
by phyler
landshark wrote:looking great! the rear quarter lined up nice
Only thanks to screws and ratchet straps. It still isn't as nice as I would have liked but it is only off by about 1/16". Hoping that the seam sealer will help advert my eyes from it.
I started the build just trying to replace a few things and now I'm getting all picky as I go along.
Sent from my Venue 8 7840 using Tapatalk
Re: Project Downward Spiral
Posted: Sun Sep 17, 2017 10:21 pm
by cdj7k
Your bronco is looking excellent. I too, laid a 75 cocoa ranger on its passenger side. Only mine was in the summer of '77.
One thought for your rear taillight housing and your quarter panel. A prominent builder in the country will weld joints like that together, typically the rocker to quarter, and then grind it down enough for the seam sealer to be the finish. That would hold the taillight housing where it belongs. Little tough to ever take back apart, though.
Re: Project Downward Spiral
Posted: Mon Sep 18, 2017 8:06 am
by Strike2
Very nice work on the sheet metal, Looks awesome!
Re: Project Downward Spiral
Posted: Sun Oct 15, 2017 3:58 pm
by phyler
Today is a day of frustration. I've had the drivers side door shutting nicely for almost a year. Last weekend, I moved the Bronco from one side of the garage to the other, took the door off, and sprayed epoxy. This weekend, I attempted to re-hang the door. First, I swapped the top hinge from the original, worn out hinge to a brand new one (same as the lower one that I installed a year ago). When I did that, it moved the top of the door back by at least 1/4". To the point where it hits the rear and you can't close the door. Then I took the door back off, swapped the top hinge back to the old, worn out one and now I can close the door again but the door wants to drop a bit due to the hinge being worn out. So what gives?
Here are some pics with the old hinge in. With the new hinge in, everything is a 1/4" further back.


One other thing I did was jack under the body mount that is by the striker post. It did widen the gap as it should but not enough to compensate for the movement to the rear that the new hinge created.
Re: Project Downward Spiral
Posted: Sun Oct 15, 2017 4:16 pm
by Gunnibronco
That sucks.
You can try putting a shim between the hinge and the door post, on the inside bolt. That should push the door hinge forward a bit.
Re: Project Downward Spiral
Posted: Sun Oct 15, 2017 4:50 pm
by phyler
Gunnibronco wrote:That sucks.
You can try putting a shim between the hinge and the door post, on the inside bolt. That should push the door hinge forward a bit.
Had to think about that for a moment. I'll see what I have that could act like a shim for that spot.
Sent from my Venue 8 7840 using Tapatalk