Page 13 of 17
Re: Digger's '69 Build Thread
Posted: Sun Dec 08, 2019 4:28 pm
by Digger
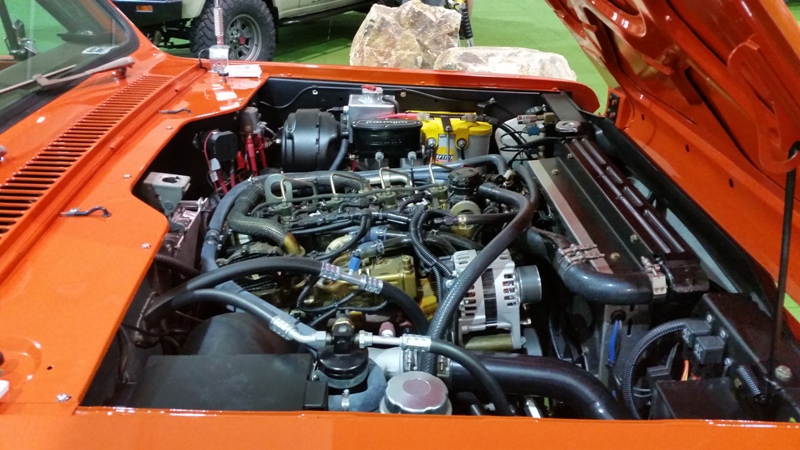
I looked forward to heading to the SEMA show this year. Last year at SEMA I started mulling this R2.8 thing over. This year I went around looking closer at the R2.8 rigs at the show.
This guy was a returning vehicle from last year, but still fun to see.

A super clean Scout and very stock appearing...
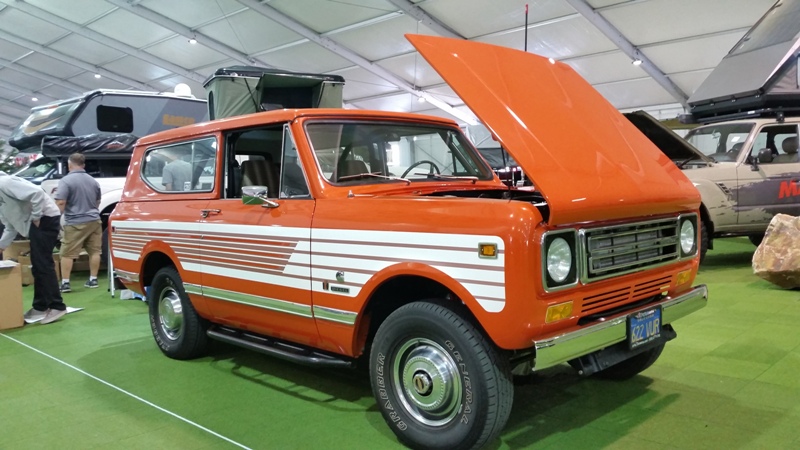
...except for:
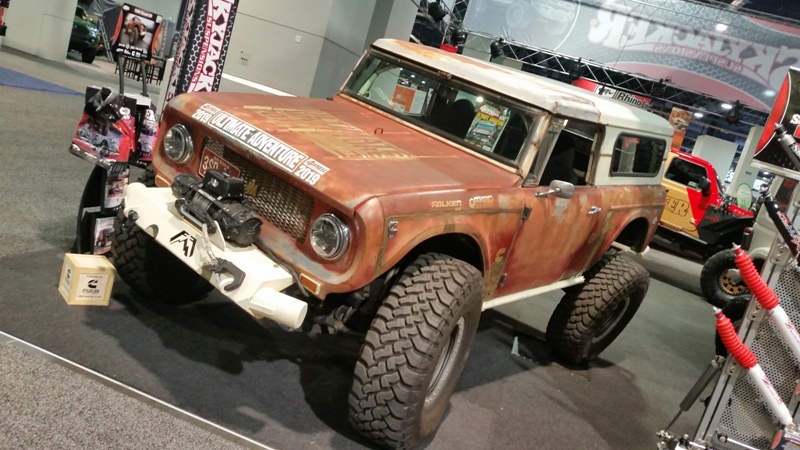
Speaking of Scouts:
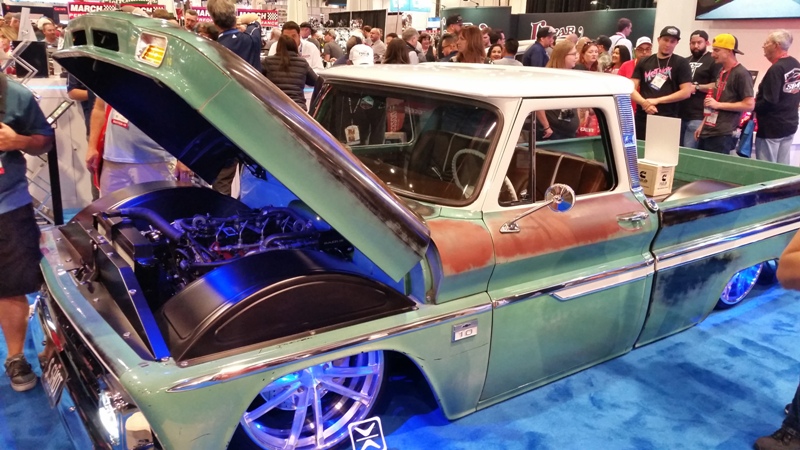
Chevy 1/2 tons are

popular the last few years, but not too many like this:

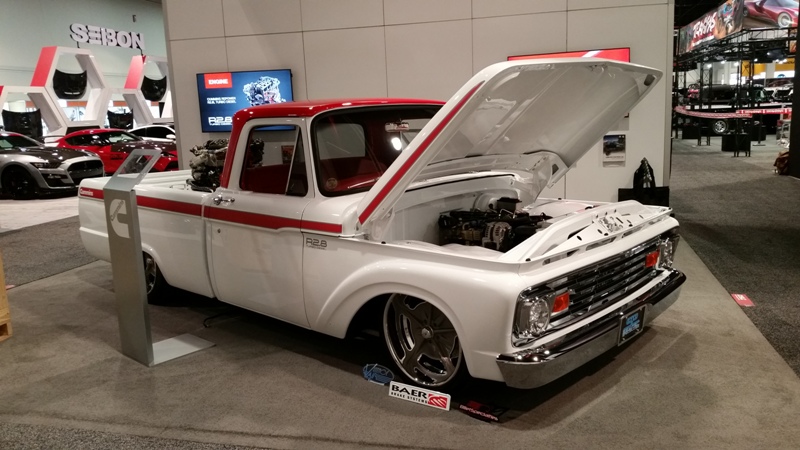
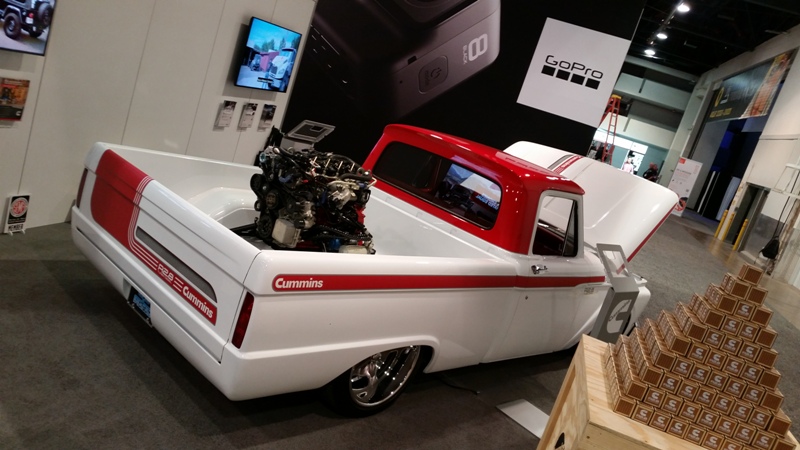
BUT my favorite Cummins rig of the show this year was in the Cummins booth:
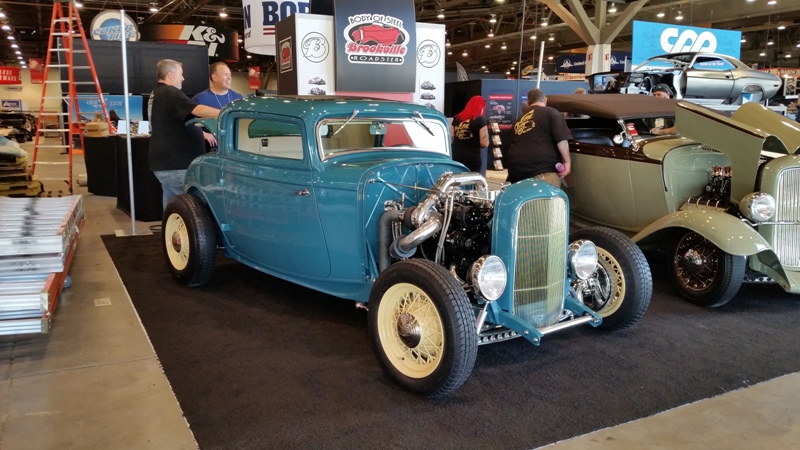
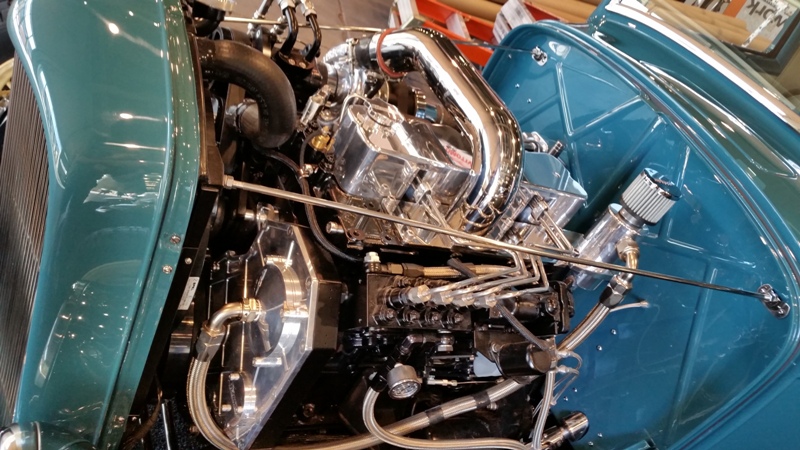
While not a R2.8, this car was pretty cool and stood out:
Re: Digger's '69 Build Thread
Posted: Sun Dec 08, 2019 4:32 pm
by Digger
Going back a few months, I discovered reworking the fuel tank for diesel was going to be more intensive than I originally thought. The tank was dirty and set up for high pressure EFI, but that wasn't too big of a deal.
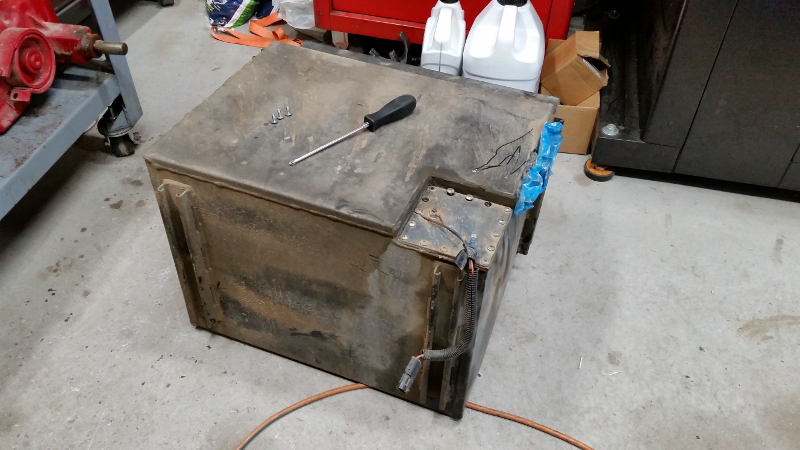

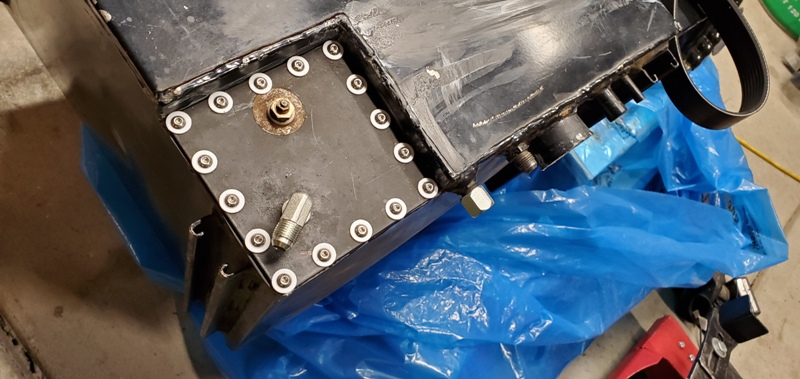
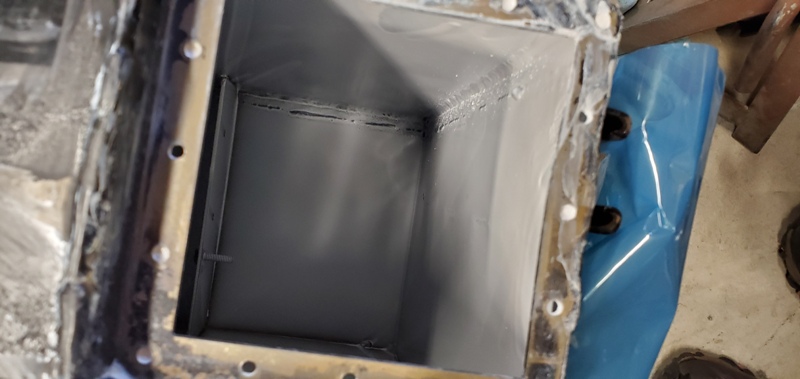
What complicated things was that the tank was zinc plated on the inside and the plumbing could have been setup better. After stripping out the fuel pump, wiring, brackets, hoses, etc, I stripped the tank down to bare metal inside...

...and recoated it with fuel tank sealer.
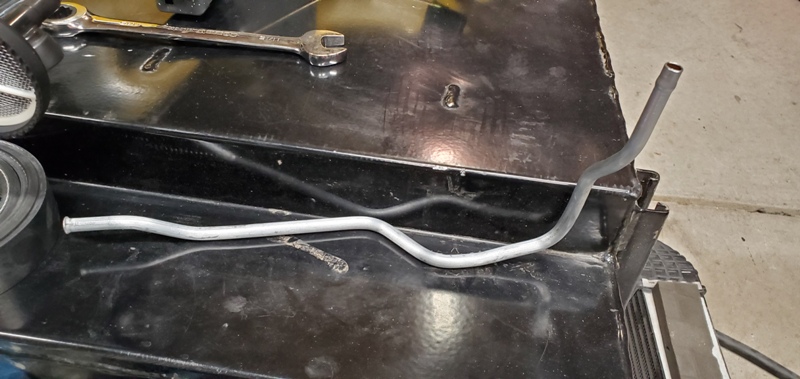
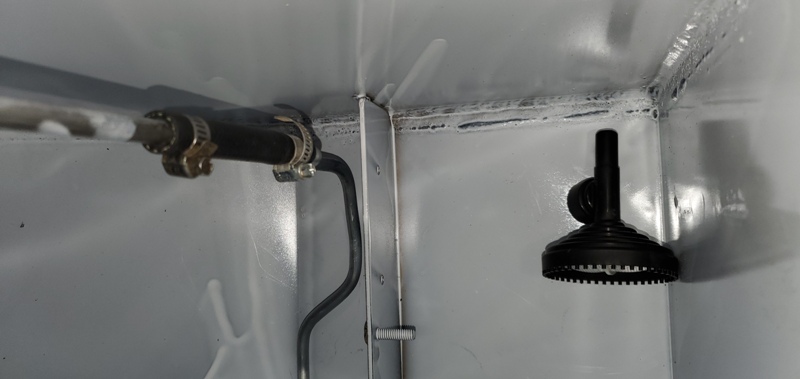
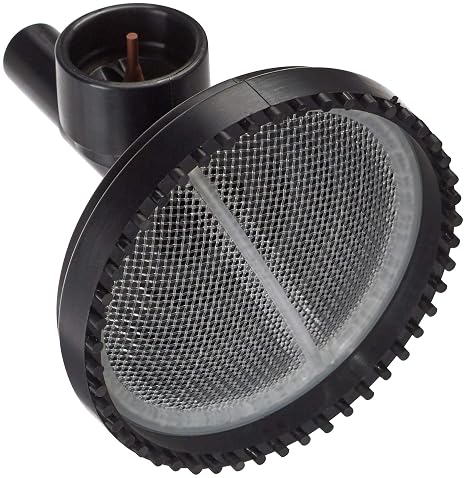
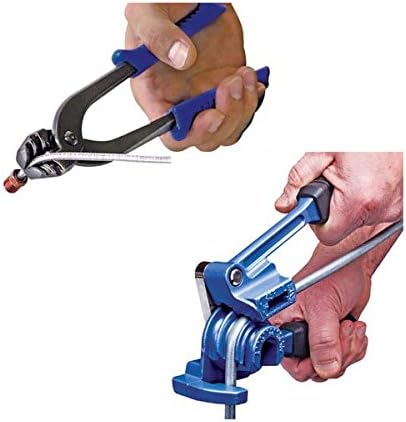
To address the plumbing, I ordered a fuel pickup stainer and a tubing bender set.
I broke out my tubing straightener and roll of 3/8" stainless:
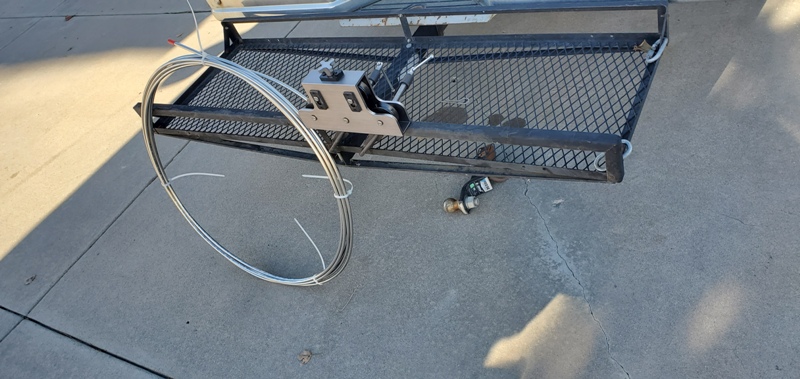
Straighten a section out:

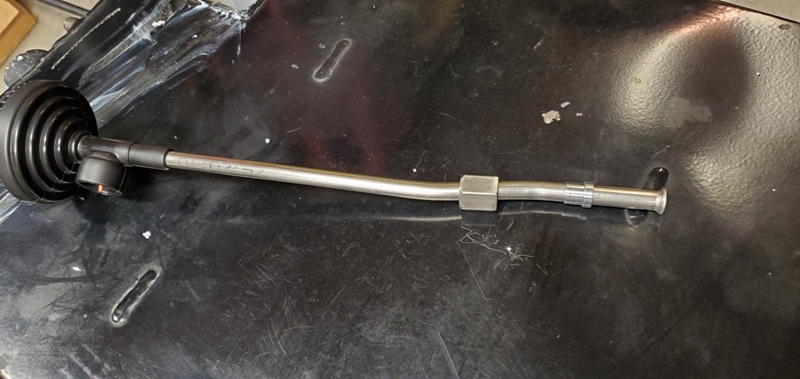
And built a new 3/8" fuel pickup tube with a 37┬░ flared end:
Re: Digger's '69 Build Thread
Posted: Sun Dec 08, 2019 4:53 pm
by Digger
Re: Digger's '69 Build Thread
Posted: Sun Dec 08, 2019 5:07 pm
by Digger
With the fuel tank buttoned up, I pulled the old fuel lines and filter assembly and spent some time placing the new fuel filter assembly with primer pump. It is much larger and I think it will need to live near the fuel tank like the old filter did.
I also spent some time trying to place the remote oil filter assembly, but I can't find a clean home for it. Without knowing exactly where the radiator, coolant hoses, intercooler and turbo hoses will be running, it became a pointless exercise. So I moved on to finding intercoolers and radiators.
For the radiator, I planned to use my old Explorer 4.0 radiator I had leftover from my previous vehicle. It was only 3 months old at the time. For those that have done this, know how tight the lower radiator hose routing is for a 5.0. It is worse with the R2.8. I haven't found a suitable alternative, so I may be forced to figure it out. The intercooler is another trouble area. Cummins recommends a CAC with a frontal area of ~150 sqin. (They have specs for required heat rejection rates, but no one seems to publish that data and I haven't found any online calculators. Maybe it's time to dust off my old Thermal Dynamics book.) The Bronco has almost no room for CAC. Between the core support and grill is about 2.5" depth over 10" of usable height. Width is restricted to less than 36" by the battery and airbox placement behind the core support.
I want to use an OEM intercooler (CAC) if at all possible. This would make field service and repair down the road much easier. The most suitable looking option appeared to come from a Focus ST, based on dimensions I found online. Luckily I met someone that had a Focus intercooler laying around, so I borrowed it and tried to fit it up.
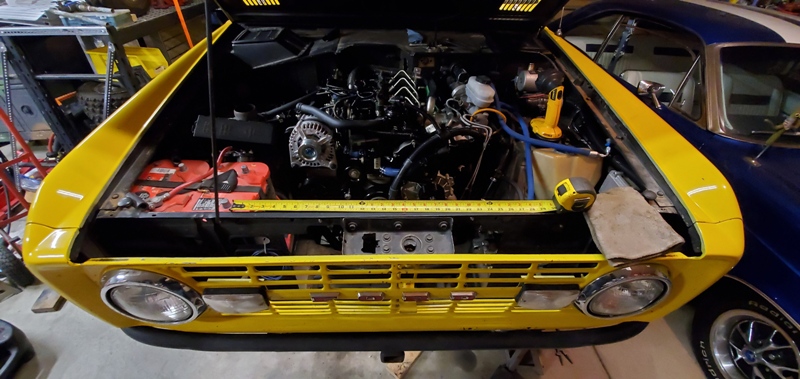
The intercooler seemed bigger than the internet claimed and didn't come close to meeting my needs.

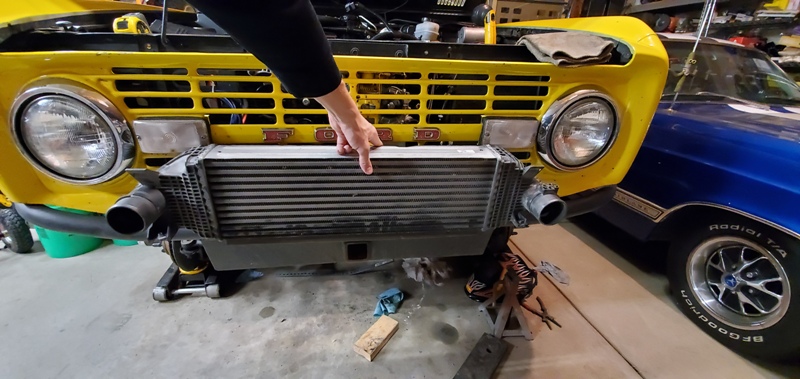
I found a Ford P/N on the side and as it turns out, the intercooler appears to be for a 2.3L Ecoboost from a Focus RS, not ST
I returned the cooler and after Thanksgiving and waiting for warm weather, I hit the junkyard in search of another application. I had identified a CAC froma VW GTI that might work, but the internet was right this time and despite being a good width and thickness, it was too tall to fit behind the grill of the Bronco

Then I found this CAC in a Volvo V50:
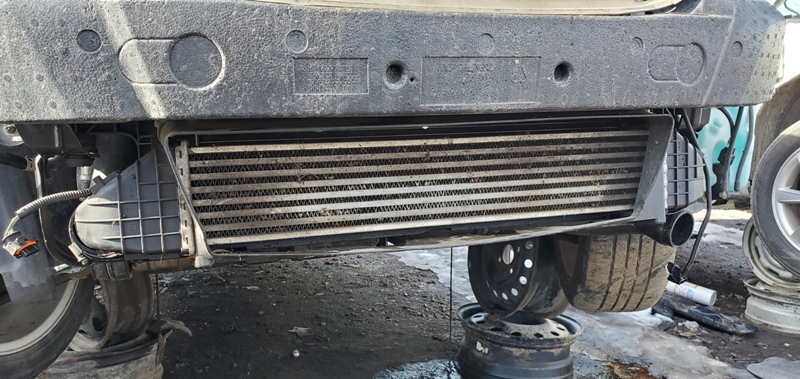
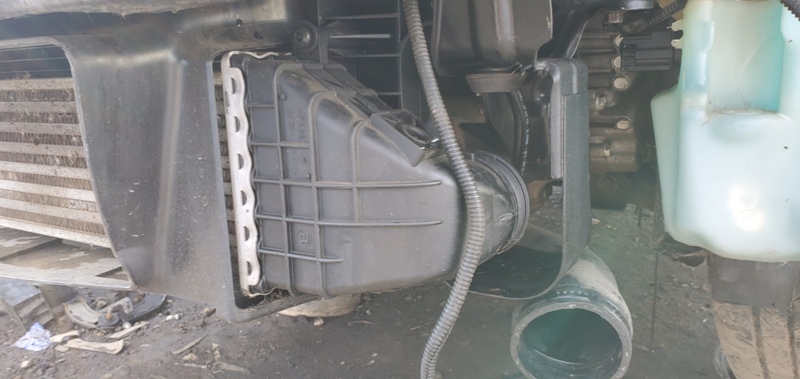
It was smaller than recommend, but I noted the dimensions and application for research later. I figure if it didn't work out, an after market version might be slightly larger. As it turns out, the P/N for the Volvo V50 CAC crossed with a Ford number (remember that Ford owned Volvo?) that fit a European Focus MkIII and Escape. A bit more research drummed up a MKII intercooler and some dimensions that revealed it was slightly larger than the V50 unit. For ~$85 straight from Ford, I ordered a unit last night. We'll see what it looks like when it shows up, but this might by my best chance. (Maybe I'm going full circle on this deal.)
Re: Digger's '69 Build Thread
Posted: Mon Dec 09, 2019 4:53 am
by BOBS 2 68S
WOW!!!
Re: Digger's '69 Build Thread
Posted: Thu Jan 23, 2020 10:08 pm
by Digger
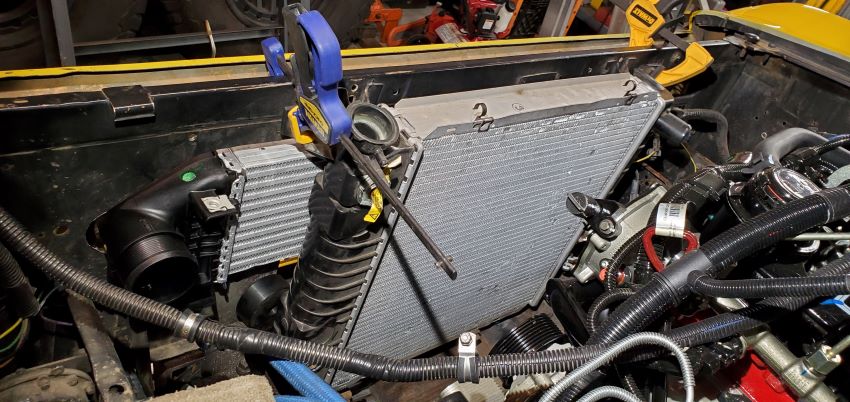
I looked at a few options, but circled back to the '94 Explorer radiator I had laying around. To fit it up, the stock radiator mounts needed to go, so I drilled out the spot welds.


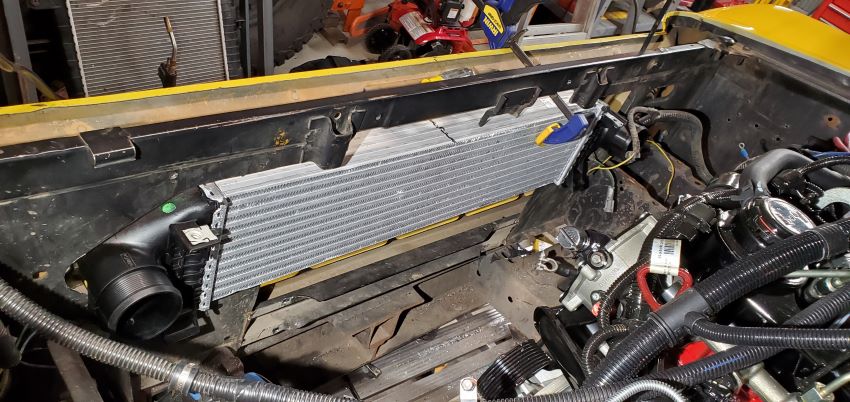
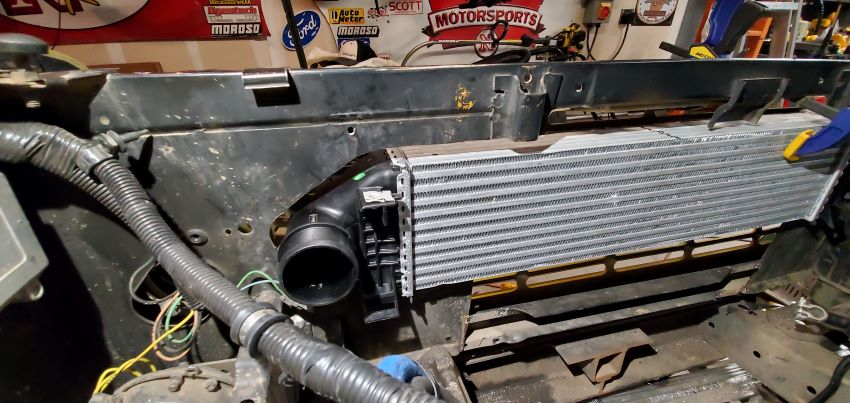
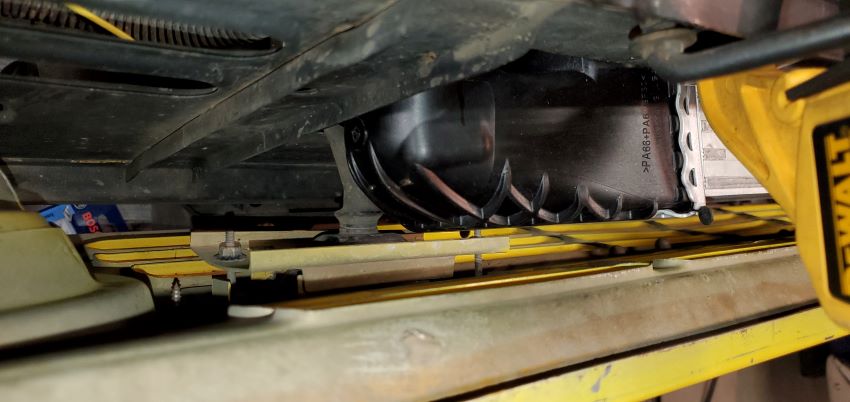
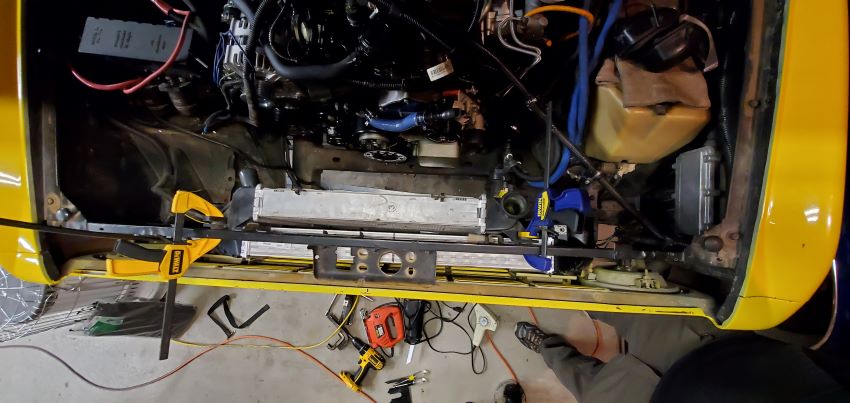
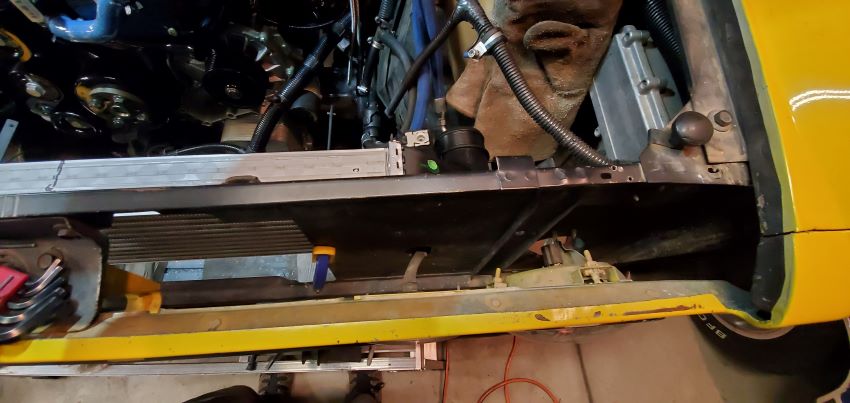
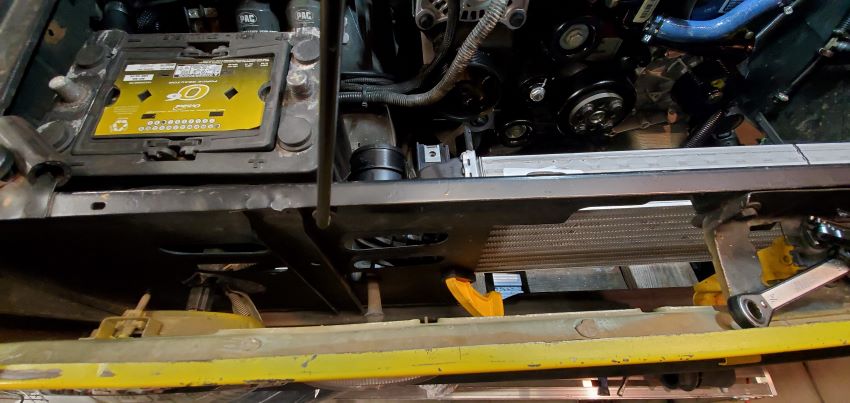
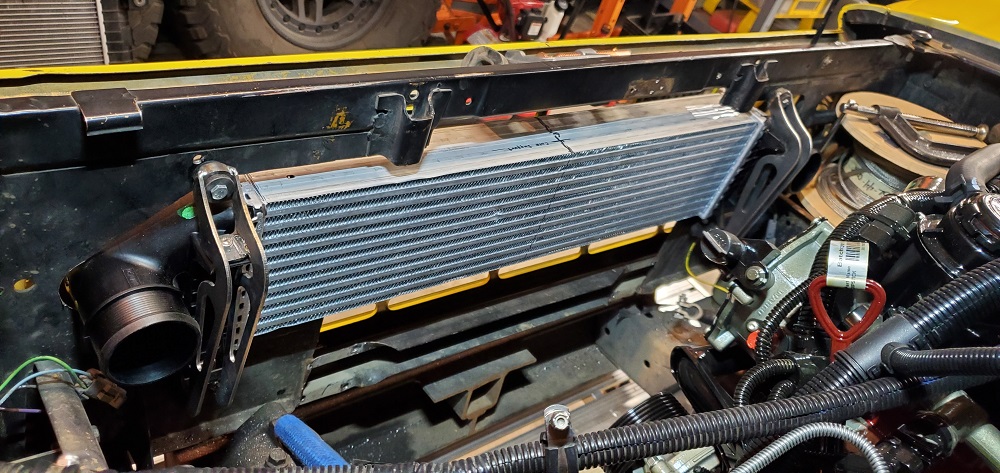
My new intercooler showed up, this one fits a Focus or Escape Ecobost 2.0T. (I stayed away from the V50 intercooler for now) It's slightly smaller than the RS intercooler, but looks very similar and meets the specs for hose size and frontal area. It still looked like a pretty tight fit, so I did a lot of eye-balling before cutting any sheetmetal.
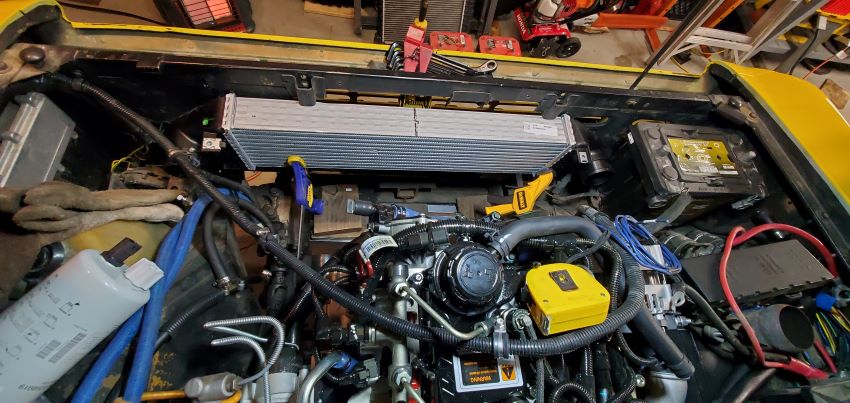
My intention was to relocate the battery to the drivers' side to accommodate the cable run to the Cummins's starter and put the air box on the passenger's side close to the turbo intake. It didn't take long to realize that the intercooler needed to be shifted off-center and the battery kept in the OE location. The air box will require a different solution.
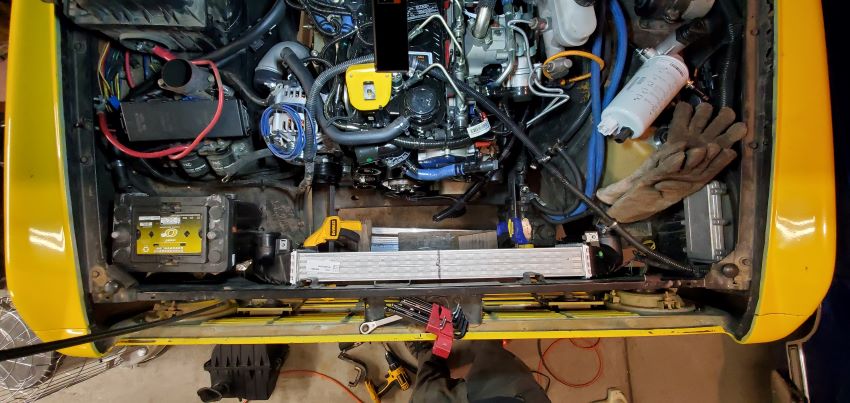
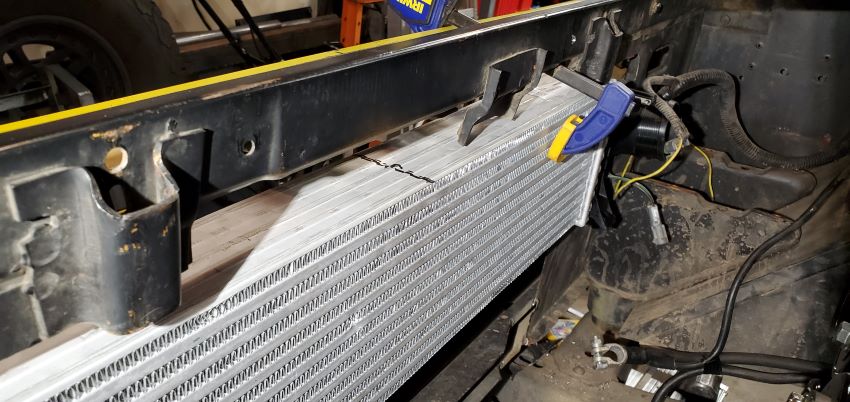
Even shifted 3" off-center, the intercooler barely clears the battery.
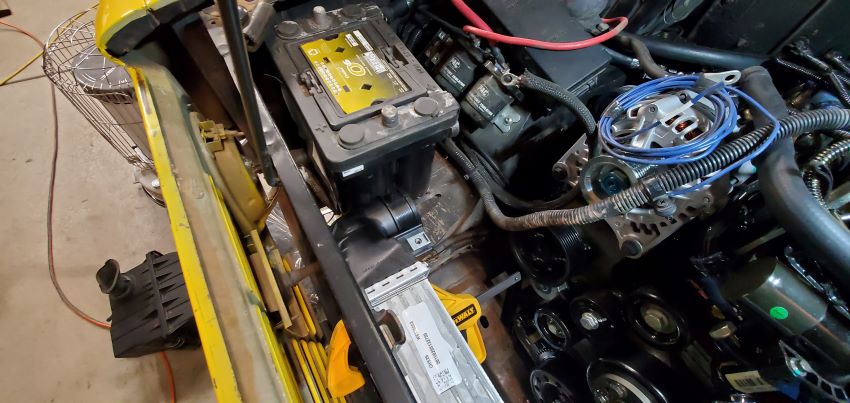
In a weird twist of fate, The off-setting of the intercooler and its width exactly fit between the uprights of the core support.
Re: Digger's '69 Build Thread
Posted: Thu Jan 23, 2020 10:28 pm
by Digger
Re: Digger's '69 Build Thread
Posted: Thu Jan 23, 2020 10:41 pm
by Digger
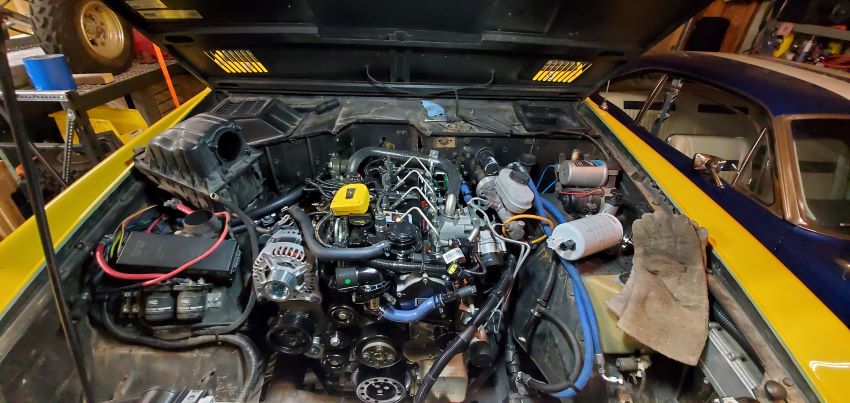
So now I have a bit of a problem. I don't have a good place for the air cleaner anymore. The most logical choice at this point, is on the passenger's fender. I don't want to run an open element filter sucking hot underhood air. Besides being less than ideal, the engine will actually throw a code if the intake temps get too high.
I looked at just about every Donaldson filter assembly that met the flow requirements. I haven't found an OE filter box that will fit. I'm down to custom building an air box, but I'm not sure where to pull air from. The cowl vent is one choice, the other is installing a mini snorkel and pull air through the fender.
I don't want to give up the cowl vent feeding fresh air to the passenger compartment.
At this point, I'm open to ideas.
Re: Digger's '69 Build Thread
Posted: Fri Jan 24, 2020 5:53 am
by ZOSO
Your second to last sentence is the killer. Otherwise I'd say look at the BC arctic air box.
https://bcbroncos.com/shop/fuel/efi/11- ... rd-bronco/I'm really looking into something like this also.
Re: Digger's '69 Build Thread
Posted: Fri Jan 24, 2020 6:18 am
by Strike2
I would consider relocating the battery to the rear and then making a air box in the original battery location, if cool air is what your looking for its all in front of the Bronco

I'm not sure how much room you have under the Passenger fender, but how about cutting a hole in the inner fender where the battery is running just the plumbing down the top of the fender and re-entering thru the rear vs trying to run it along side the motor where space is limited .
Re: Digger's '69 Build Thread
Posted: Fri Jan 24, 2020 8:09 am
by Jesus_man
I don't know why the fresh air vent couldn't serve both purposes. The plastic grill could be made to remove easily exposing a collar where an air filter could be mounted. It's away from engine heat, fairly high in case you want to cross a river and would sound pretty cool with the hood closed! My biggest concern would be not sucking in water when it's raining, but you could make a shield of some sort to keep water from dripping right onto the filter.
AEM makes some dry-flow filters that have lots of different sizes you might find interesting. These are cleanable, but do no use oil.
In looking at mine, space is quite limited inside the factory fresh air box. But I don't recall what is under it. Perhaps modifications could be made to leave room for a nice filter in there? Or just tap into the side of the box for fresh air and then have an inline filter on top of the fender. I'm reminded of the one for my '99 F150 that pulled air from the fender, but the filter was inside this cylinder:

As for the hood latches, what about these:
https://www.wildhorses4x4.com/product/Q ... ir/hoodsEBOR:

Re: Digger's '69 Build Thread
Posted: Fri Jan 24, 2020 10:31 pm
by Digger
I'm thinking draw air from the passenger cowl vent, channel it down into the air box, air makes a 180 degree turn in the box to toss any loose dirt or moisture, then travel up to the air filter before entering the turbo.

Year after year, I read up on the stories from the Ultimate Adventure and the number of guys having to shake out their filters almost daily. I really wanted to use a Donaldson filter, but since I can't find one that fits, I want to engineer some sort of swirl particle separator to help off-road.
Anyone seen a Bronco with a stumpy snorkel pre-cleaner?

Re: Digger's '69 Build Thread
Posted: Sat Jan 25, 2020 9:40 am
by Kinder
Digger wrote:I'm thinking draw air from the passenger cowl vent, channel it down into the air box, air makes a 180 degree turn in the box to toss any loose dirt or moisture, then travel up to the air filter before entering the turbo.
Year after year, I read up on the stories from the Ultimate Adventure and the number of guys having to shake out their filters almost daily. I really wanted to use a Donaldson filter, but since I can't find one that fits, I want to engineer some sort of swirl particle separator to help off-road.
Anyone seen a Bronco with a stumpy snorkel pre-cleaner?
I havenΓÇÖt seen one, but I did scavenge a setup off of a F700 that included a setup like you are talking about. It included a massive ΓÇ£DonaldsonΓÇ¥ filter (pre filter & filter) and the small snorkel. IΓÇÖll dig it out and take pics and try to get a number off of it to see if itΓÇÖll flow the CFM needed. IΓÇÖve always wanted to put it on BSD, but the room required is troublesome and I donΓÇÖt even have inner fenders.
Re: Digger's '69 Build Thread
Posted: Sat Jan 25, 2020 4:30 pm
by Digger
I only need 300-350 CFM
Re: Digger's '69 Build Thread
Posted: Sat Feb 22, 2020 12:46 am
by Digger
I'm going back to the idea of using a Donaldson filter assembly and now moving both batteries under the truck. I'll post more on that as it progresses.
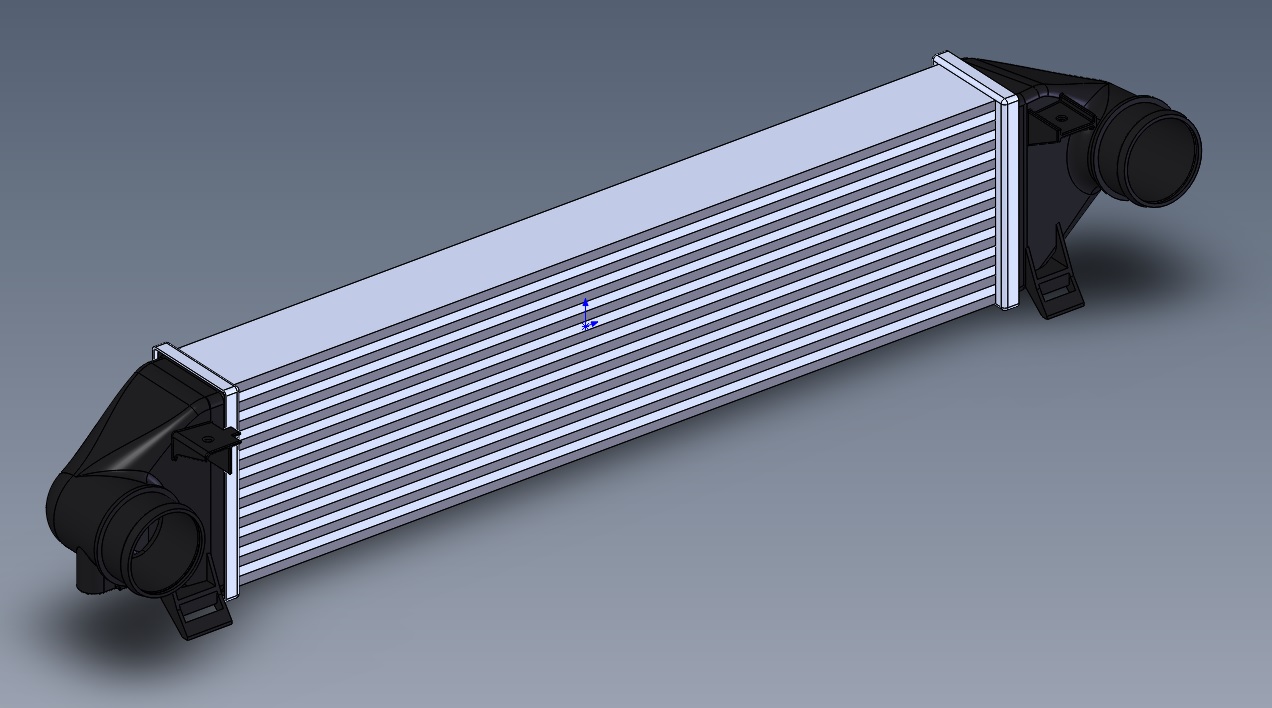
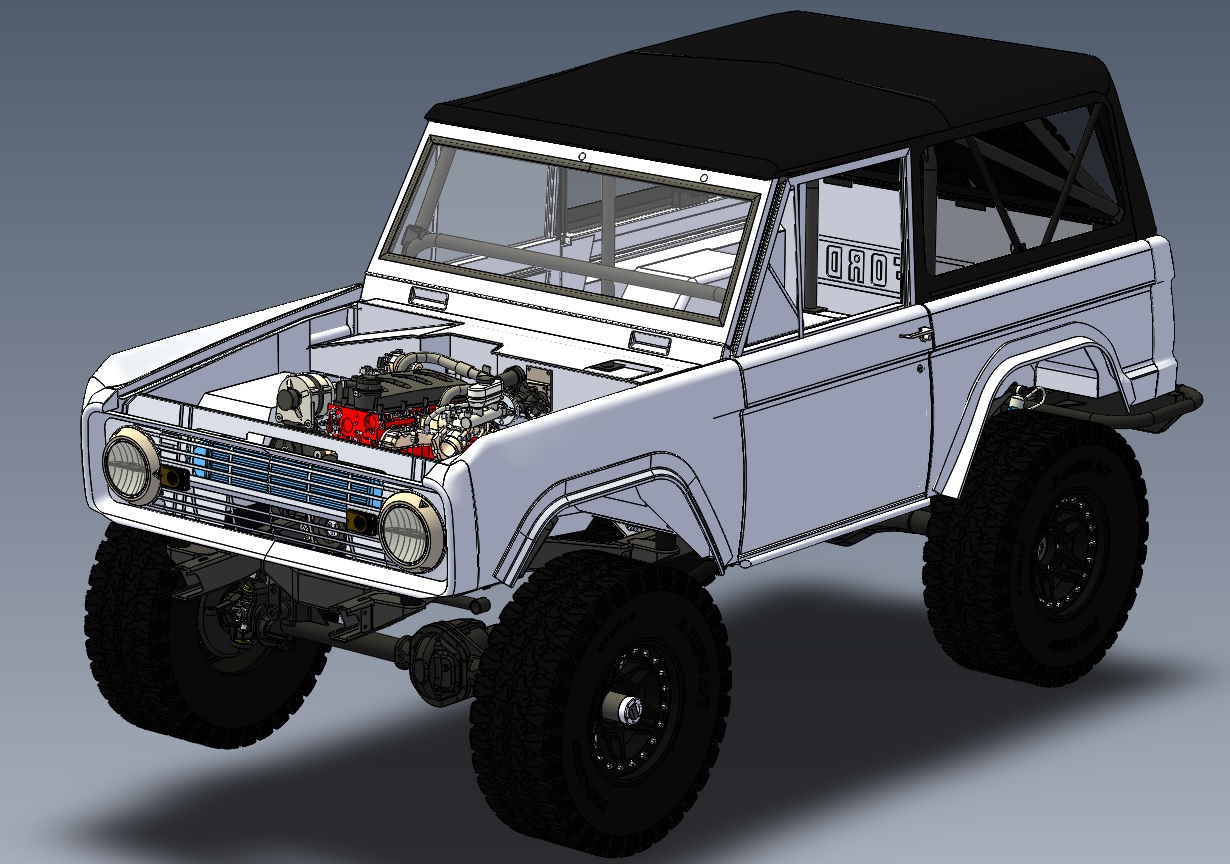
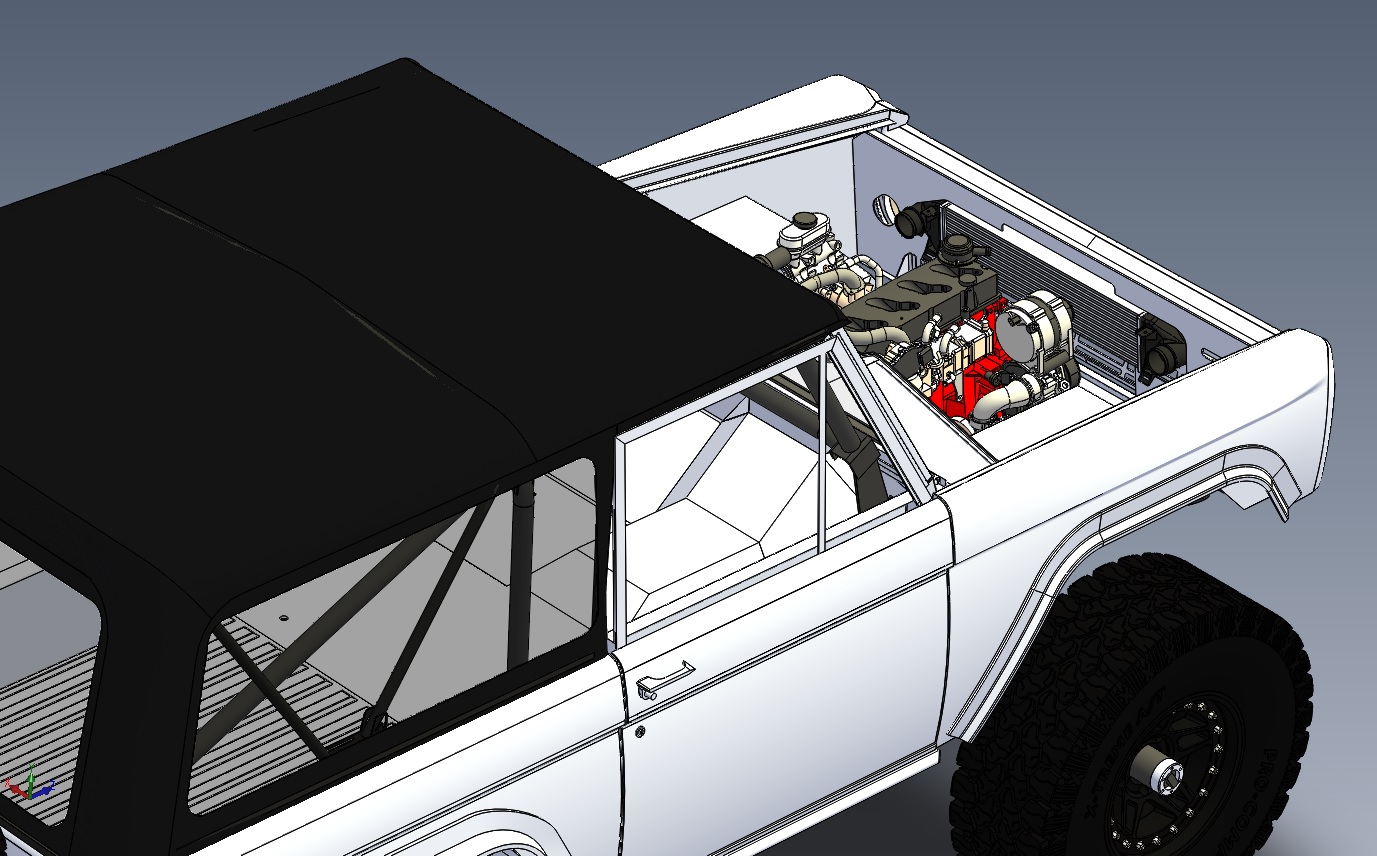
Lately I've been trying to figure out a hood latch solution without success, but I'm working at that as well. It the mean time, I need to get brackets cut for the CAC and radiator mounts. The CAC needs a more involved solution to keep it isolated from the core support. I made some upgrades to my CAD computer which ate a few evenings and a weekend. She is rocking a fresh copy of Win10 Pro, 32 Gb of ram, a new graphics card and a 500 Gb SSD now. With the computer back up, I spent a few weeks making updates to the Bronco model. I saved off and modified a copy of the core support to reflect the giant hole I cut in it. This week I modeled up the CAC and added it to the model. Next I will be able to design out the brackets and isolators. This thing has a really goofy mounting arrangement, however I have an idea to mount it cleanly to the core support.
Re: Digger's '69 Build Thread
Posted: Sat Feb 22, 2020 6:10 am
by Rox Crusher
Keep digginΓÇÖ, you will prevail
Re: Digger's '69 Build Thread
Posted: Sun Feb 23, 2020 10:11 pm
by Digger
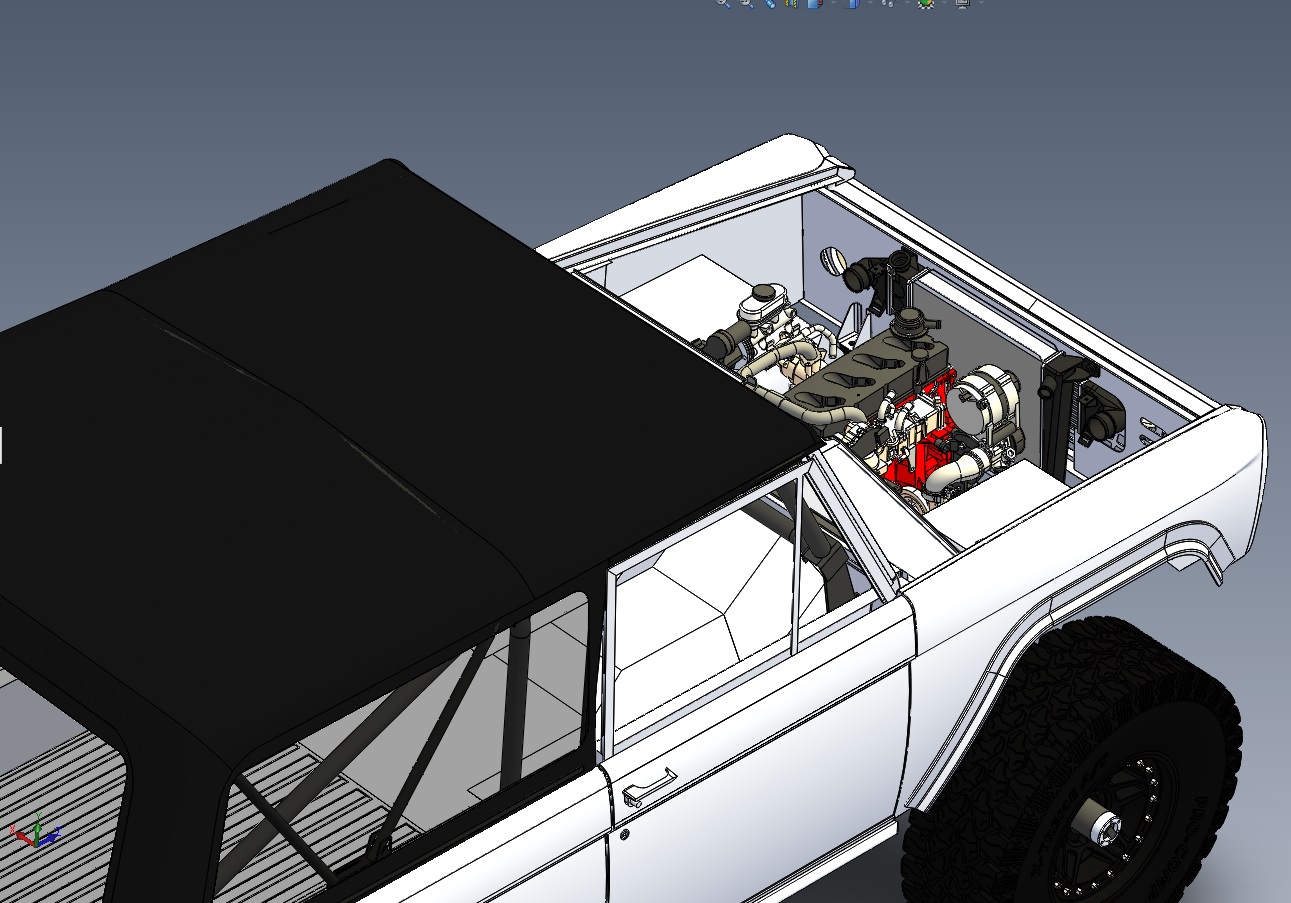
Tonight I modeled the Explorer radiator and dropped it into the assembly. Next I will design the brackets for the CAC and radiator.

Re: Digger's '69 Build Thread
Posted: Mon Feb 24, 2020 6:56 am
by Justin
That's so cool. How does the Cummins engine compare to your 351w in terms of length?
Sent from my SM-G975U using Tapatalk
Re: Digger's '69 Build Thread
Posted: Mon Feb 24, 2020 9:13 am
by Digger
The Cummins with transmission adapter is exactly the same length as my old 351W. This saved me from moving the trans or modding driveshafts.
Re: Digger's '69 Build Thread
Posted: Mon Feb 24, 2020 10:32 am
by Strike2
I'm always nervous opening this thread only because I look like this every time, and I cant get this tune out of my head LOL
Can you tell me how to get how to get to sesame street
Digger's '69 Build Thread
Posted: Tue Feb 25, 2020 8:33 pm
by Kinder
Re: Digger's '69 Build Thread
Posted: Wed Feb 26, 2020 10:31 pm
by Digger
Kinder wrote:Finally dug out the filter system from the F700, looks like the CFM is close. Pics and data sheet below. Right now I am running a disposable filter from NAPA, part # FIL6314, the Donaldson equivalent is AH1107. Data sheet at the bottom.
Thanks for doing that!
I see a Donaldson sticker on that housing. Any chance there is a P/N on it?
Those charts are
. So if I understand this right, a F700 was only running a filter that was good for 340 cfm? What year F700 and what engine?
Re: Digger's '69 Build Thread
Posted: Mon Mar 16, 2020 9:01 pm
by Digger
I ordered some grommets for the intercooler and got to designing brackets. After 2 nights and some test machining, it was apparent the grommets were not going to work. Here was the original grommet mockup.

It only had a 1/4" thru hole and I tried securing it with a 10-32 screw. I would have to machine a double-end stud, like a shock stud to make this work. The wall thickness holding the screw would have been very thin. ~0.060"
I spent a few nights cruising McMaster and found a better tophat style grommet that not only provided room for a larger bolt, but more cushioning rubber as well. Heading back to the computer, I designed up a new bracket system and had the plate cut at work on the laser.
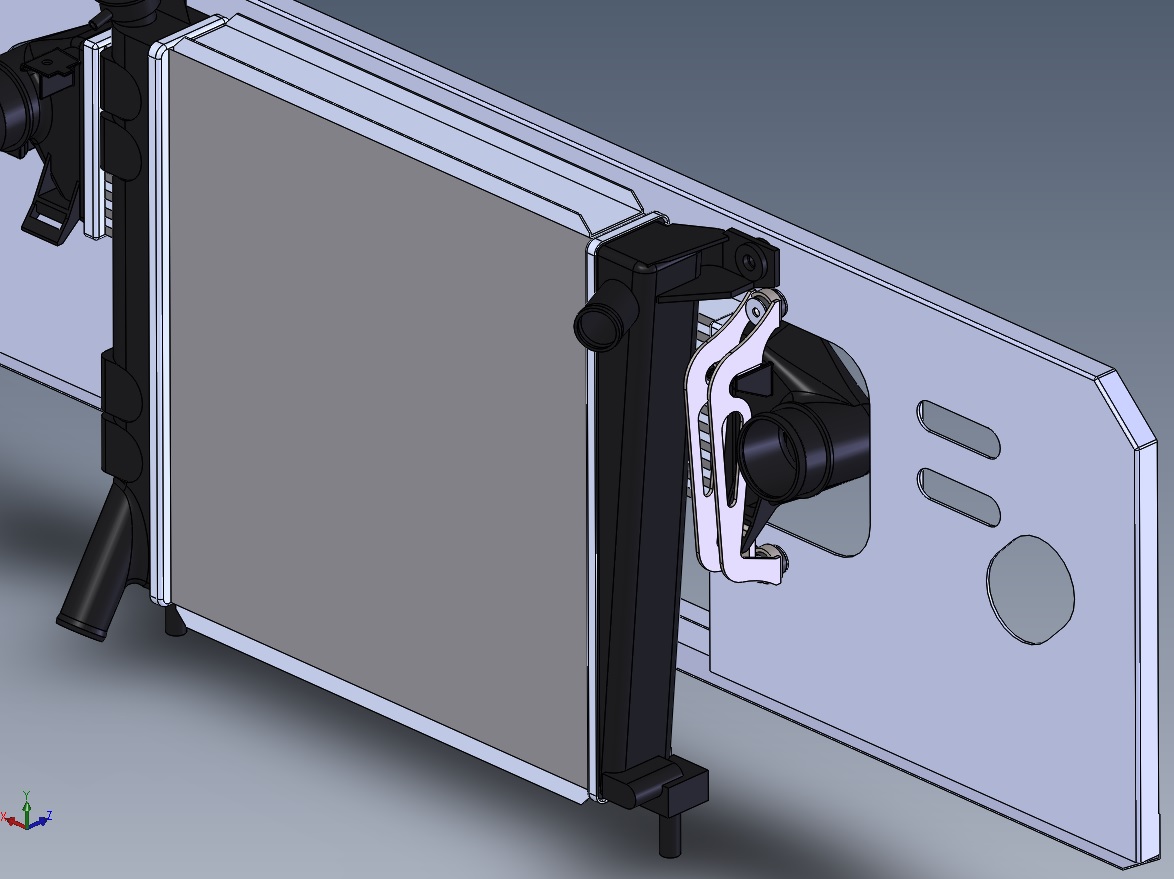

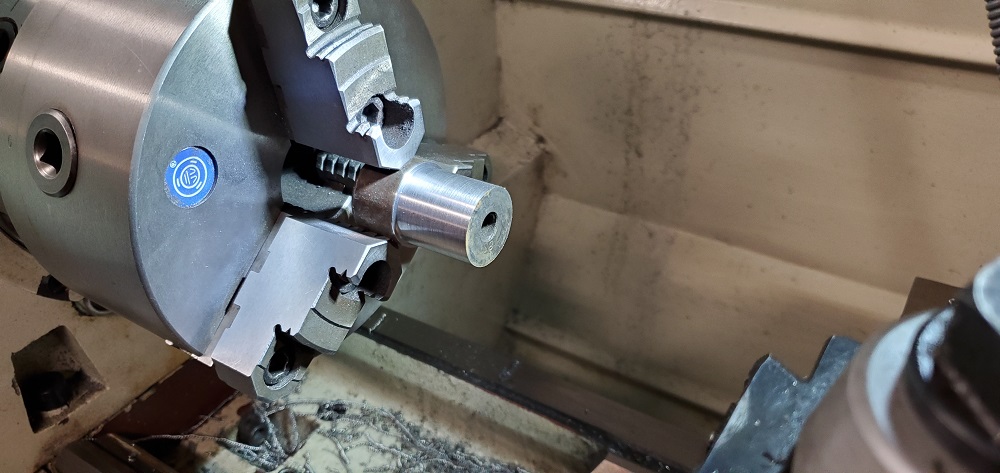
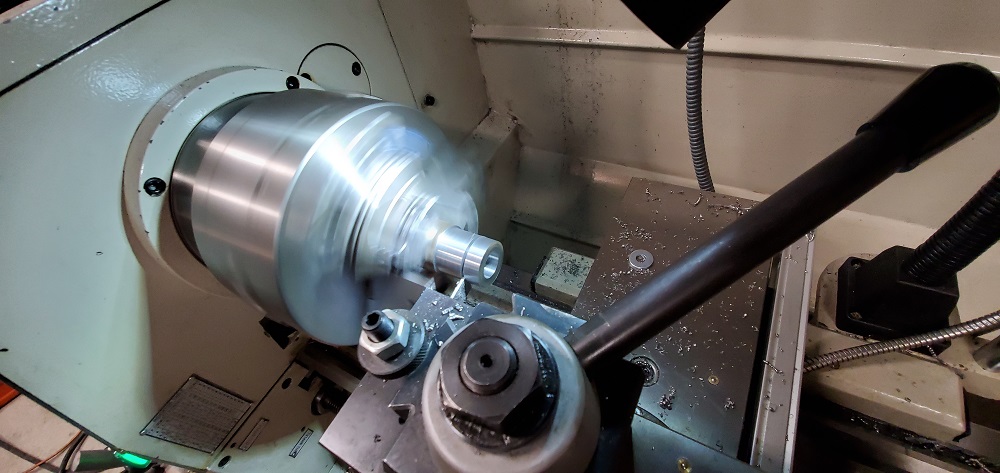
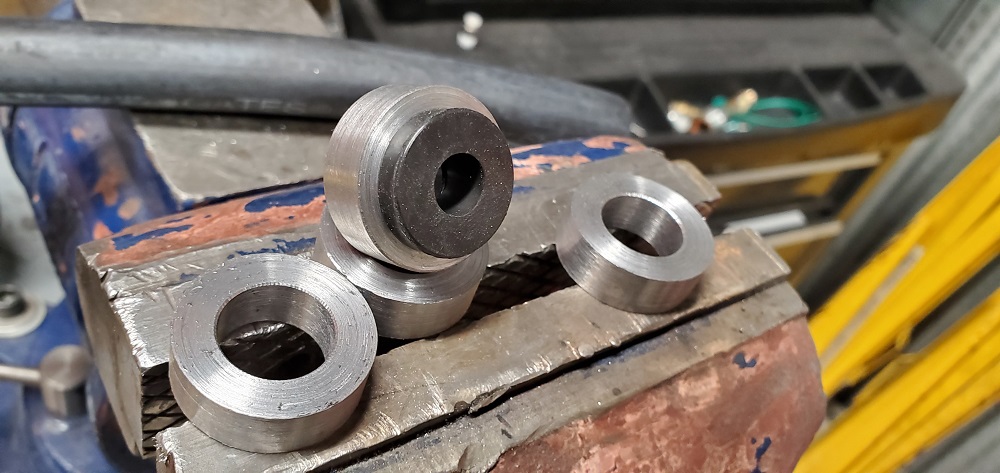
The mounting bosses were turned out on the lathe to get a precise ID for the grommets and flats were machined in using the mill later.
Re: Digger's '69 Build Thread
Posted: Mon Mar 16, 2020 9:10 pm
by Digger
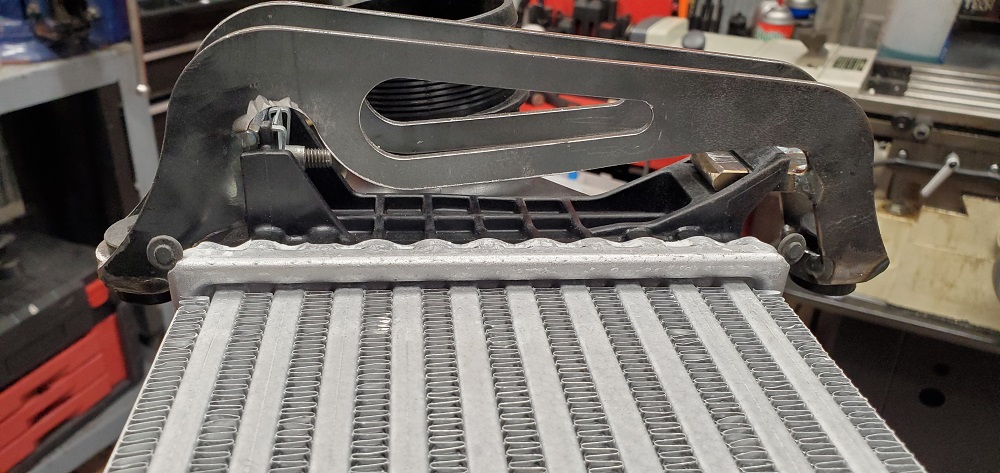
A little bit of welding and throw in some crush sleeves and the mounts were ready to fitup. Here you get a good view of the way the OEM mounts work.
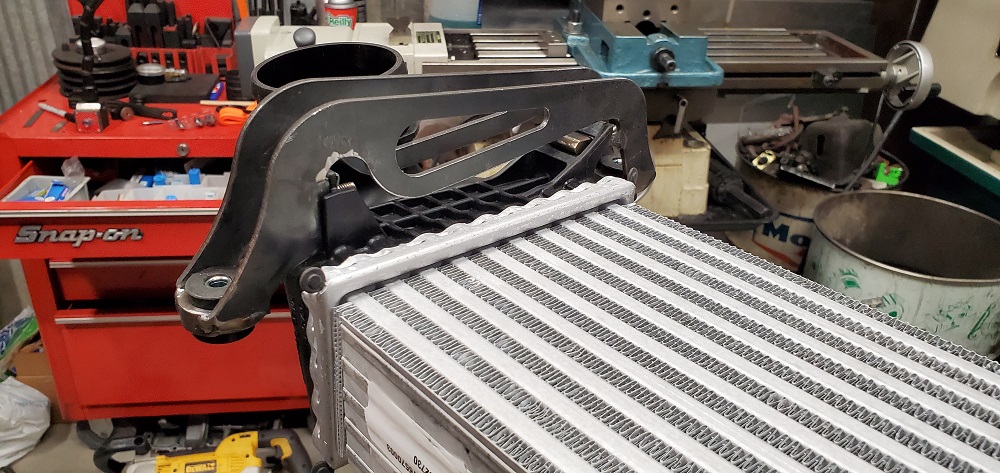
The tab slips into the lower mount, then the bracket swings into place and is secured with 1 screw per side.
Add some mounting holes in the core support and the intercooler is ready to go.
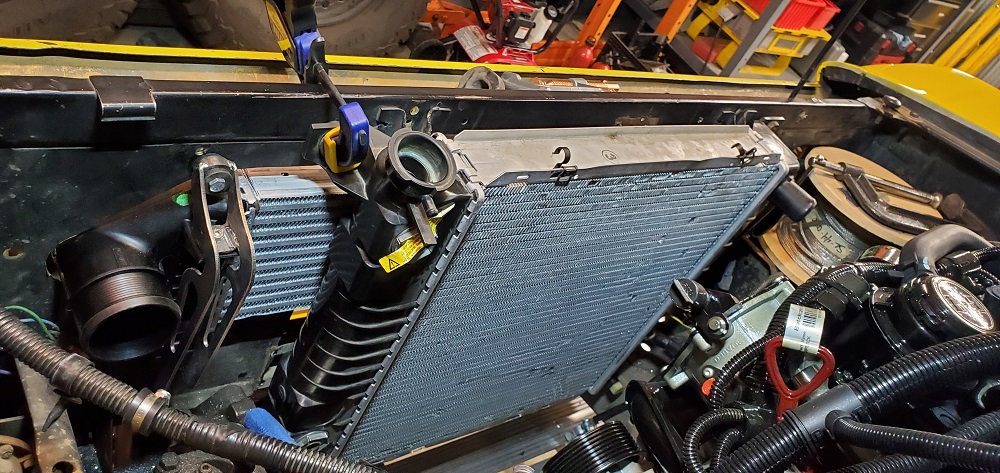
The radiator fits as predicted, but now needs its own set of mounts.
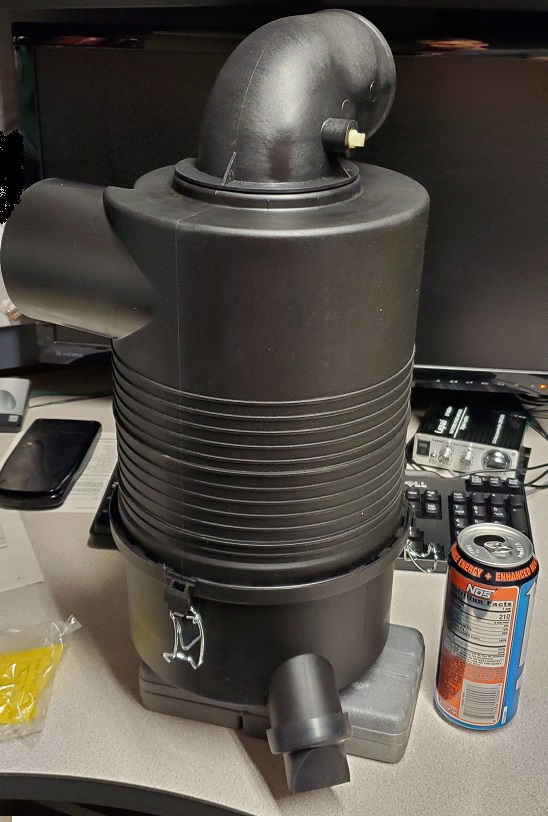
Meanwhile, after many evenings of searching specs, I ordered the smallest Donaldson filter that met Cummins' flow requirements for the R2.8. You really have to read the charts to get the full picture since Donaldson and Cummins rate their filter flows at different restrictions. At ~300 cfm at 12 in of H2O, this unit barely meets spec, but it will hold 8 lbs of dirt before becoming too restrictive. Also, the swirling technology and duckbill valve will keep the majority of the dirt away from the filter. Now the challenge will be finding a home for this thing.

Re: Digger's '69 Build Thread
Posted: Tue Mar 17, 2020 6:39 am
by Strike2
Those are some sweet looking mounting brackets, 8lbs of dirt a
amount before needing a clean.
As always very nice working!
Digger's '69 Build Thread
Posted: Tue Mar 17, 2020 8:42 am
by Kinder
Digger wrote:I see a Donaldson sticker on that housing. Any chance there is a P/N on it?
Those charts are
. So if I understand this right, a F700 was only running a filter that was good for 340 cfm? What year F700 and what engine?
Sorry, no part number, the sticker has seen too many miles to be legible, I see you found something that looks more modern. The F700 was a late ΓÇÿ70s or early ΓÇÿ80s if my memory was right, so likely a M series Ford block.
Those brackets look great and elegant in design, nice!
Re: Digger's '69 Build Thread
Posted: Mon Aug 03, 2020 10:14 pm
by Digger
Returning from the depths here.
Things got a little busy with COVID work, home schooling, etc. In the middle of everything, I took some time off to work on a little side project with my FIL and the boys refurbishing an older John Deere 318 garden tractor. Hoping to push some snow and drag some trees around with it. The boys are having fun learning to drive it.


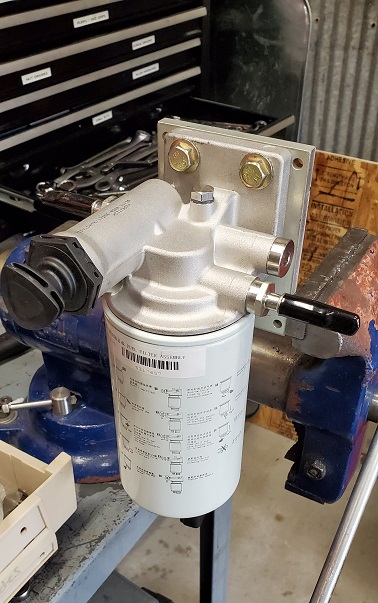
I returned to working on the Bronco in June, starting with the fuel system, I found a home for the fuel filter on the rear frame rail and made a mount for it.

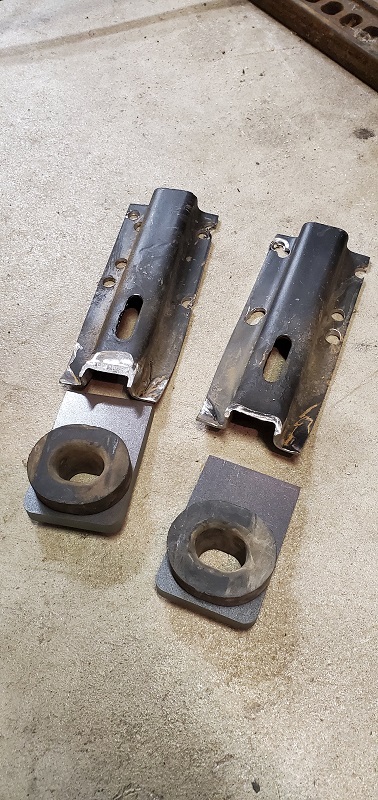
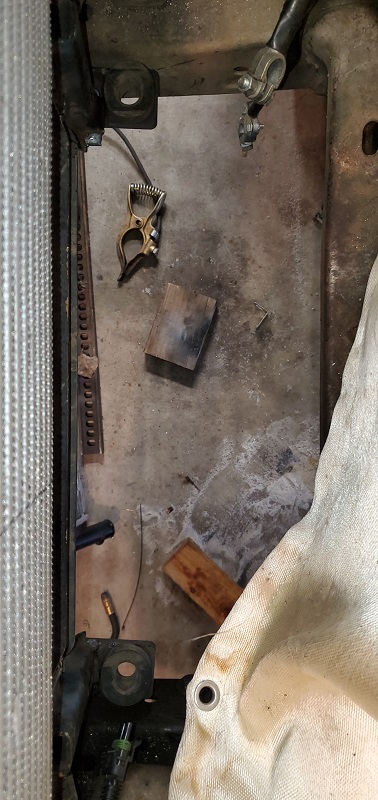
I also needed to finish the lower radiator mounts. I used stock Explorer bushings and LASER cut mounting tabs that weld to the stock Bronco mounts. Nothing fancy, but functional.
Re: Digger's '69 Build Thread
Posted: Mon Aug 03, 2020 10:19 pm
by Digger
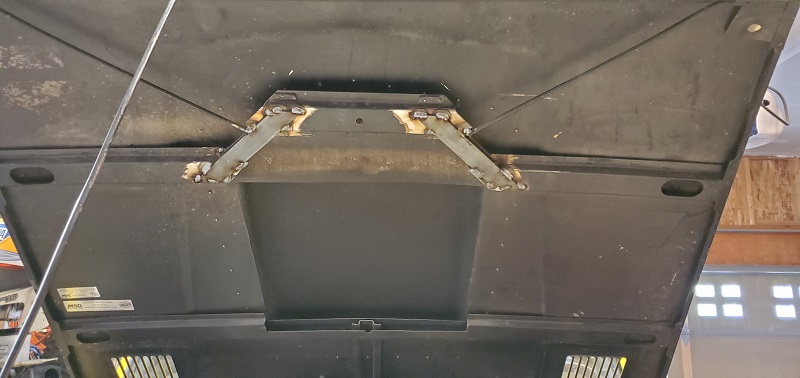
The hood still needed to be modified to fix the clearance issue to crank breather. I started by cutting back the support strut until I could close the hood.
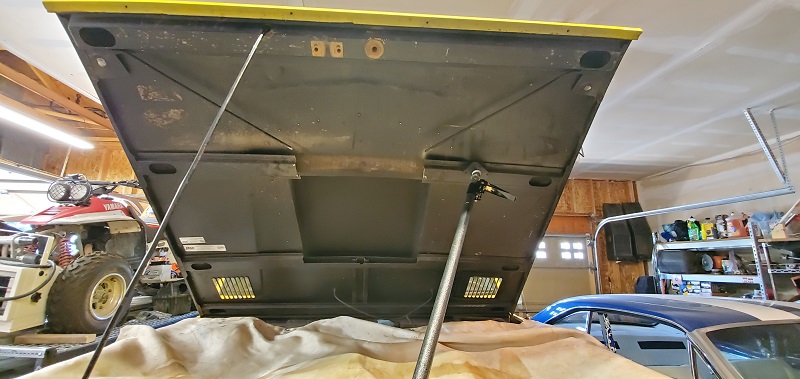
From there, pieces were cut to create a jog in the support...
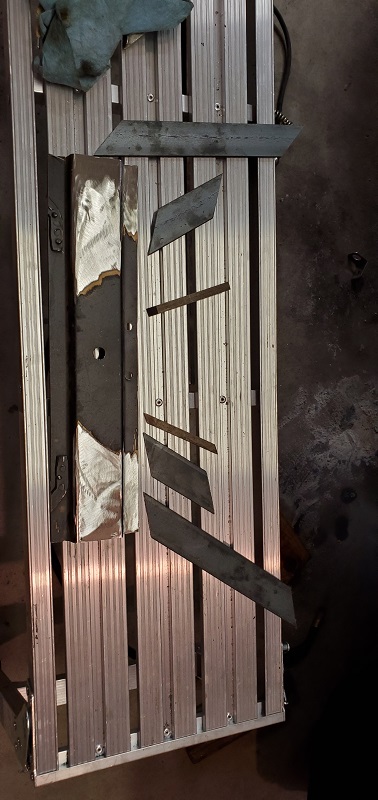
...and loosely tacked in place to verify fitment.

Then I covered up the engine, trimmed and welded the support. It will get painted later when the engine comes back out.
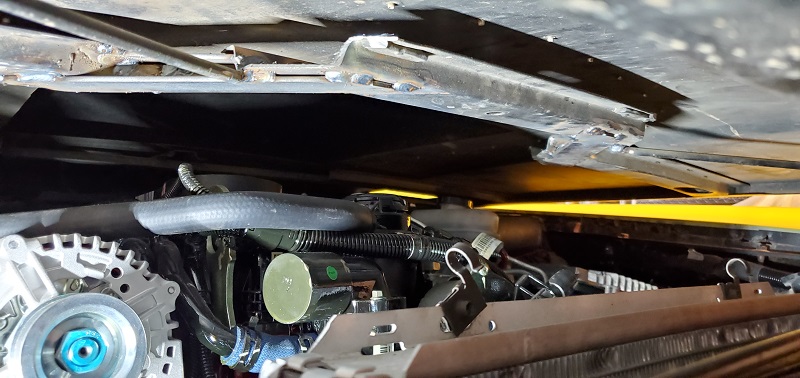
I started on the exhaust by cutting the 90 off the DOC. That's as far as that has gone. Waiting for more piping to show up.

Re: Digger's '69 Build Thread
Posted: Mon Aug 03, 2020 10:33 pm
by Digger
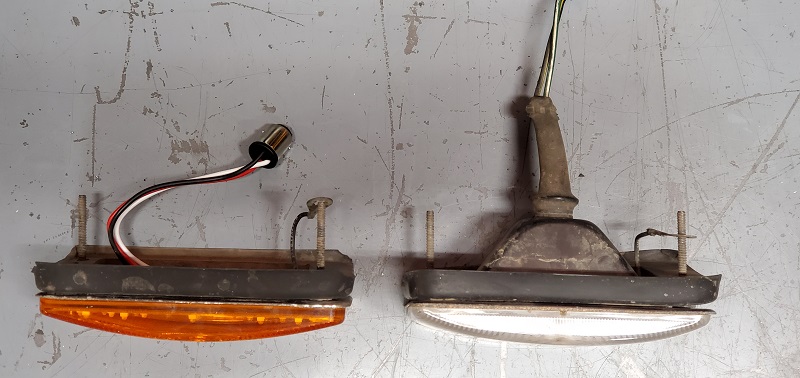
LED modules were ordered to address the clearance issue between the left turn signal and the intercooler. The modules tuck into the lens and are very low profile. I modified the turn signal housing by removing the bulb and cutting the back half off.
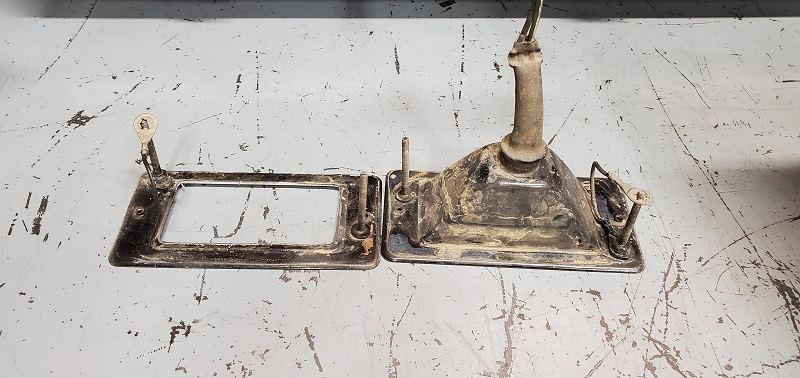
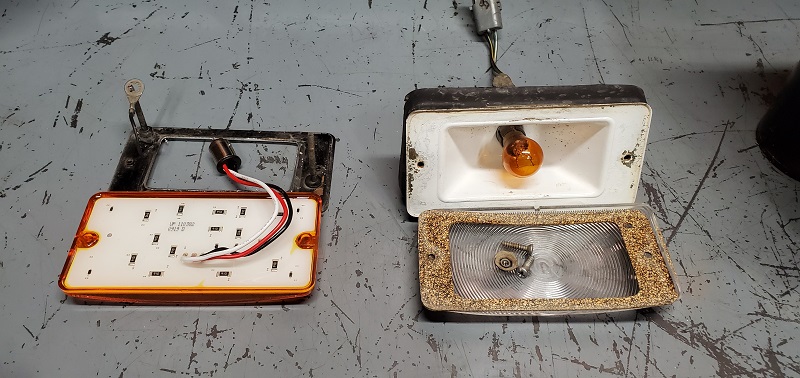
The depth difference is dramatic
The hood latch situation became very frustrating. I really need to get this truck back on the road and the current hood is so chopped up with the PO's hood scoop, I decided to shelve the modified hood latches for now and took the easy route using hood pins.

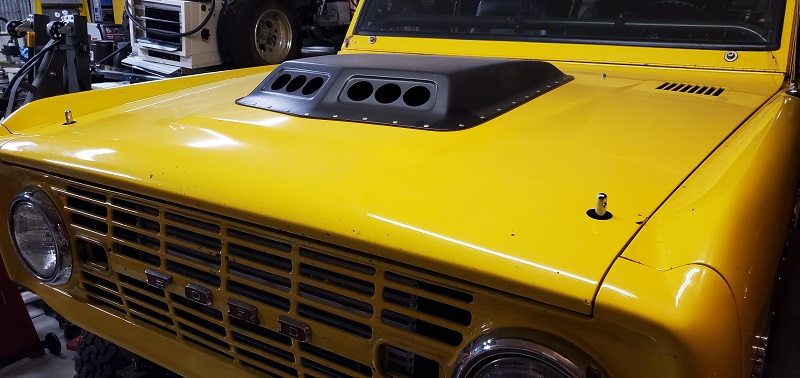
In my haste, I forgot to take a finished photo with the hood shut.
Going back to the fuel system, I needed to reroute the brake lines and replacement the steel hard lines with stainless while I was doing the fuel hard lines. Several hydraulic lines are getting rerouted because there is no longer a header to avoid on the driver's side. This has opened up better routing options for brakes and power steering lines.
The old hard lines that ran between the master cylinder and frame were removed and two brackets on the engine were trimmed back to make greater clearance.
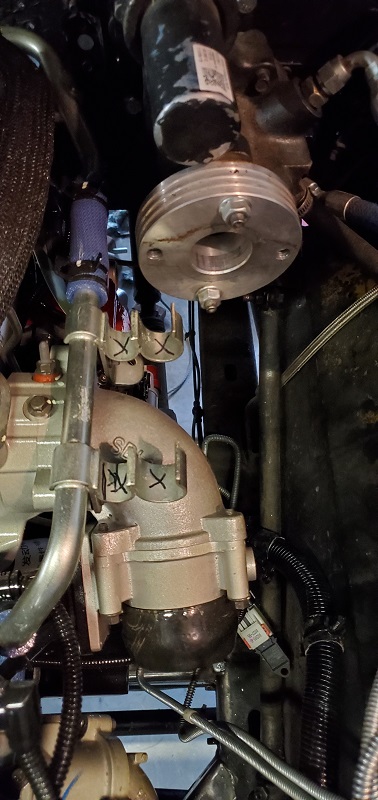
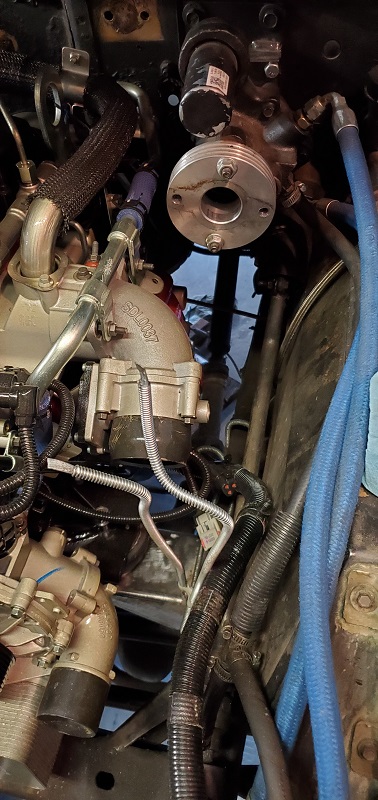
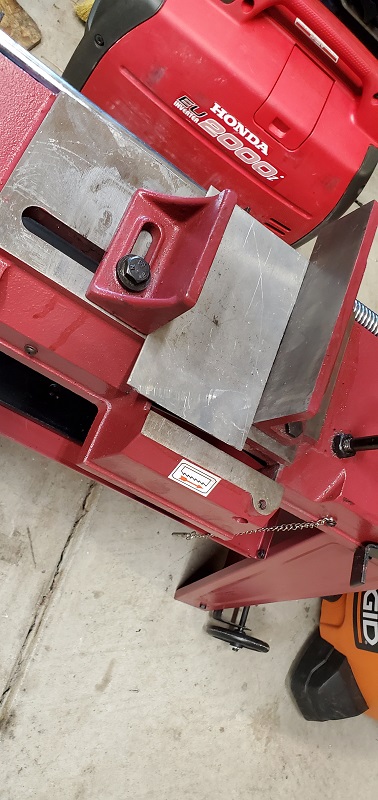
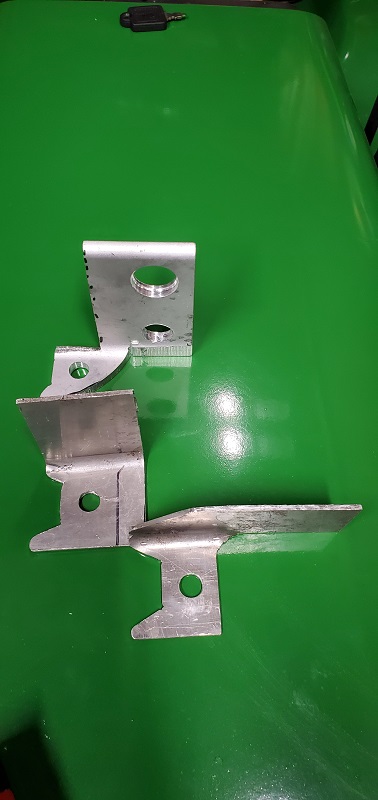
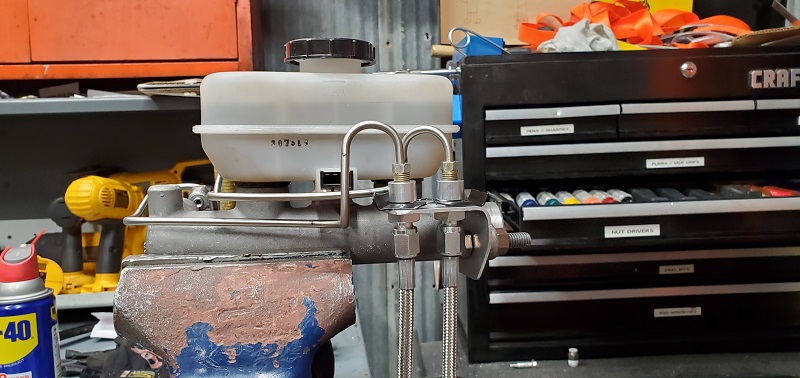
Removing the master cylinder from the hydroboost has been handy for accessing stuff on the engine. To further facilitate this, I am adding flex lines. This requires a mounting bracket on the MC. The first 3 attempts were less than stellar.
Re: Digger's '69 Build Thread
Posted: Mon Aug 03, 2020 10:43 pm
by Digger
I started to "geek-out" a bit building the hard lines, but I've been looking forward to building single-piece stainless lines vs the old pieced-together steel lines I had before. The brakes started with a roll of stainless and the tube straightener.
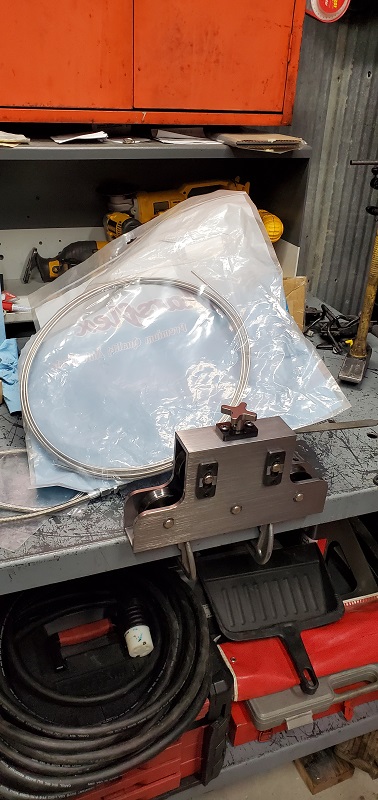
I reused the fitting nuts off the MC and flared the new lines.

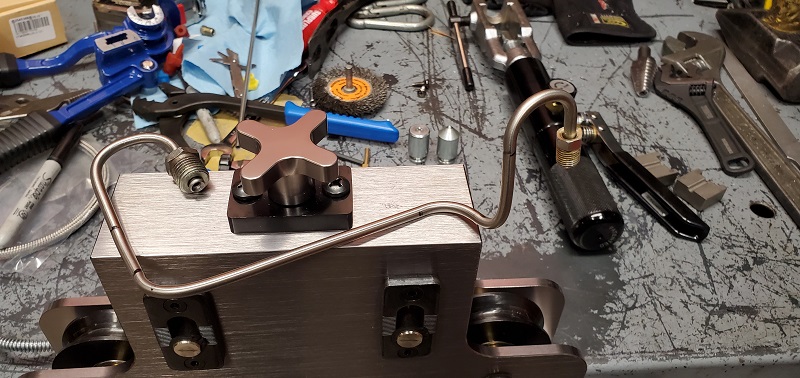
Fitting the pair with the new bracket and flex lines turned out pretty well.
With the old brake lines pinched off, I started pulling the old hard lines.

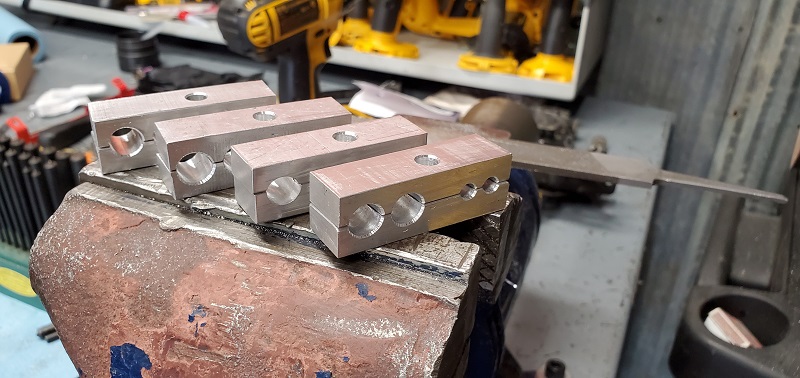
In my previous work, I made plastic hard line brackets. At the time, I forgot about the ARB air lines and they ended up zip-tied to the brake lines. This time I wanted something better, so I made new line clamps with four holes.